Boning Knife Basics: Flexible vs Stiff, and Why It Matters (Honest Buying Guide)

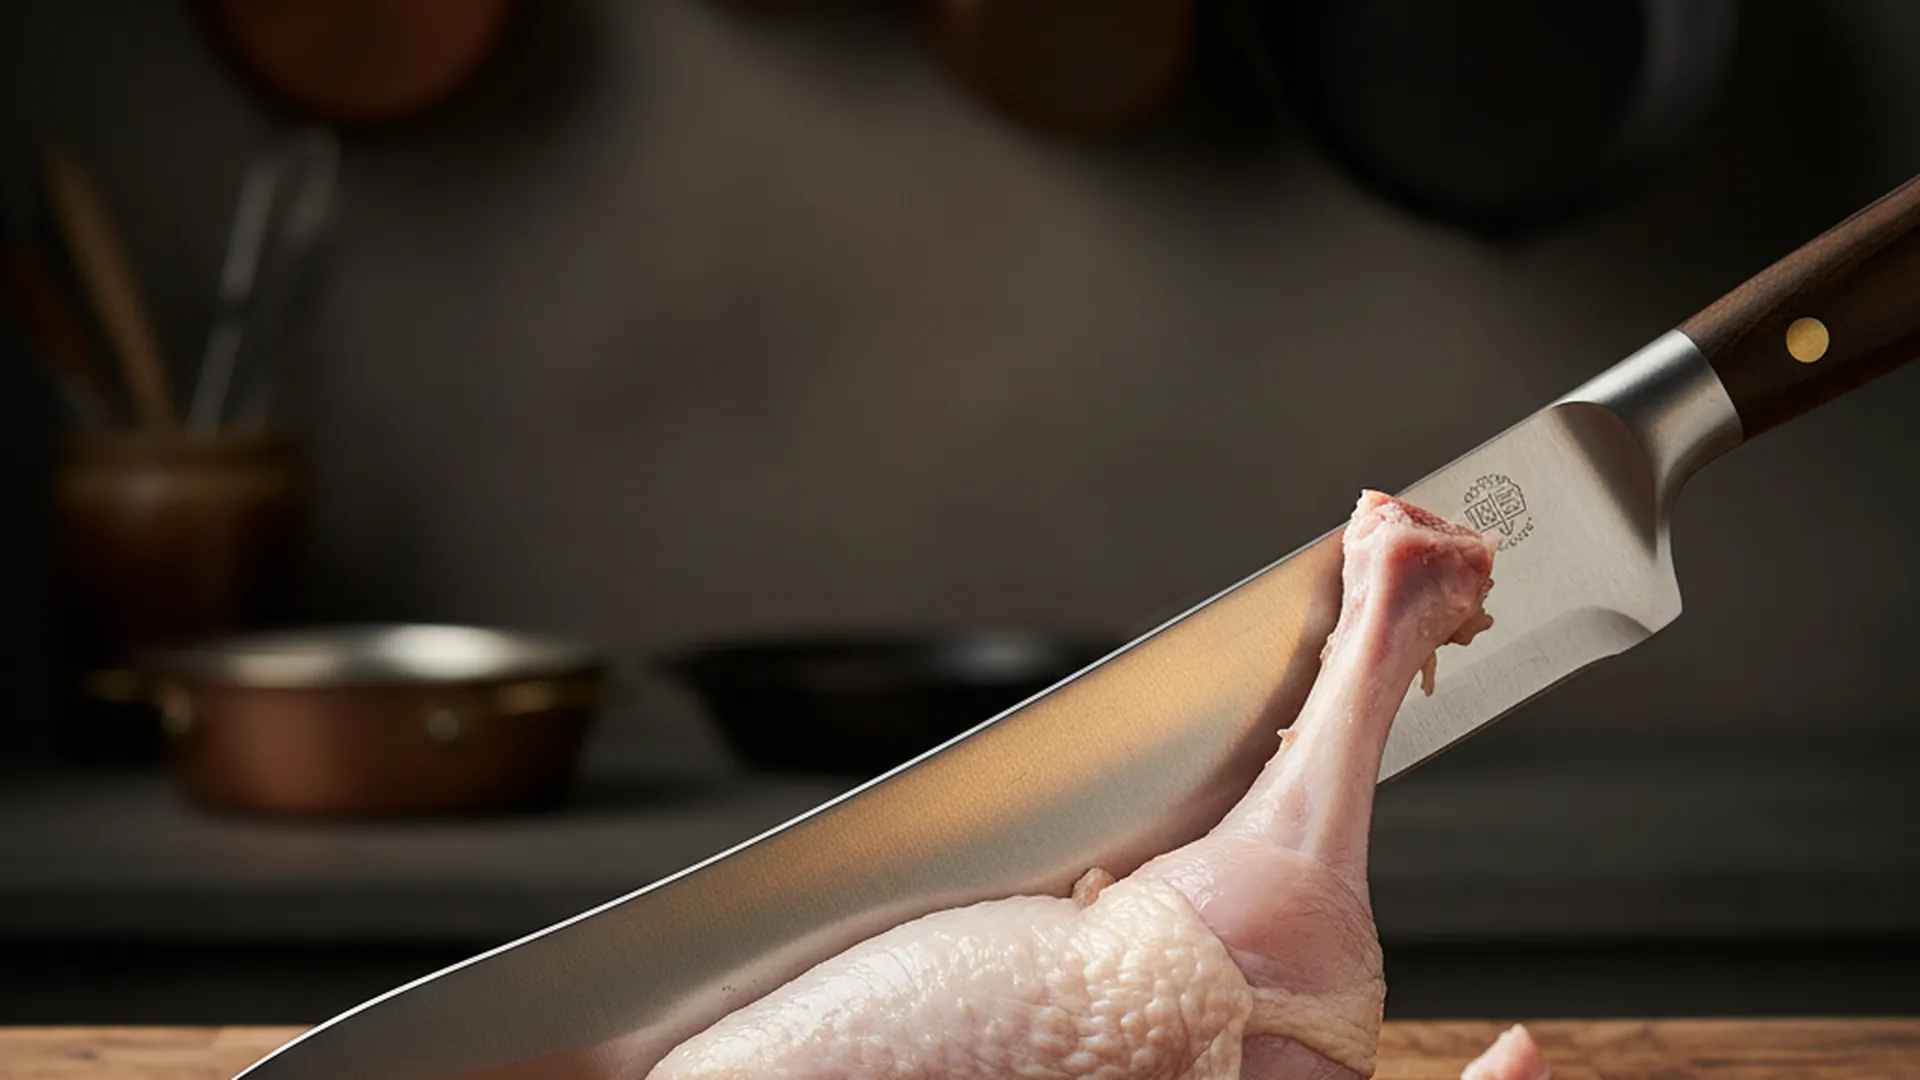
Most American home cooks own zero boning knives. They buy boneless skinless chicken breasts at $9 a pound, pay full retail for trimmed pork tenderloin, and never wonder why a whole chicken at $1.79 a pound feels like a different economy. The boning knife is the bridge between those two worlds. And almost nobody owns one.
Here’s the math nobody mentions: a $40 boning knife pays for itself in two months if you buy whole chickens, untrimmed pork shoulders, or fish fillets, and break them down at home. The knife is so specifically designed for one job — separating meat from bone — that it does the work in a quarter of the time a chef’s knife takes, with cleaner cuts and less wasted meat.
This is the no-nonsense breakdown. Flexible vs stiff. Curved vs straight. The two boning techniques (filleting and seam-butchery). What length and steel actually matter. And how to break down a whole chicken in 4 minutes once you’ve got the right blade in your hand.
The 30-second answer
For most home cooks: 5–6″ semi-flexible boning knife with a slight curve. Western style (riveted handle) is fine; Japanese honesuki is great if you cut a lot of poultry. Spend $30–$80 from a real knife brand. Skip the $15 “boning knife and steak knife combo set.” Buy carbon if you commit; stainless if you cook on autopilot.
What a boning knife actually does
A boning knife separates meat from bones, joints, cartilage, and connective tissue. Its design is purpose-built:
- Narrow blade: reaches into tight spaces between bones and meat.
- Pointed tip: punctures connective tissue at exact spots.
- Curved or straight edge: follows bone contours.
- Flexible or stiff blade: matches the work — flexible for fish and poultry, stiff for red meat and game.
A chef’s knife can bone, but the wider blade fights you in tight spaces, and the heavier weight makes long delicate work tiring. Imagine using a baseball bat to thread a needle. Doable. Dumb.
Flexible vs stiff (the most important decision)
Flexible boning knives
Thin blade, often labeled “flexible” or “semi-flexible.” The blade flexes under finger pressure — useful for hugging a curved bone (like a fish spine or chicken thigh) and following the contour without leaving meat behind.
Wins: excellent for fish (filleting), chicken/turkey breakdowns, working around joints, removing silver skin from tenderloin.
Losses: too whippy for heavy red meat work, can bend mid-cut on tough pork or beef, harder to control on dense connective tissue.
Stiff boning knives
Thicker spine, no give. The blade resists flex completely. Better for forceful work where you need leverage.
Wins: red meat work (beef, pork, game), removing big tendons, separating large primal cuts, prying joints apart.
Losses: bad for fish (won’t follow the spine without leaving meat), clumsier on chicken than a flexible blade.
Semi-flexible (the home-cook sweet spot)
A middle-ground blade with some give but enough stiffness for control. The honest answer for home cooks who do a mix of poultry, occasional fish, and the rare beef breakdown.
Most major brands (Wüsthof, Henckels, Mercer, Victorinox) sell their main “boning knife” as semi-flexible by default, with separate “flexible” or “stiff” lines for specialists.
Curved vs straight blade profile
Curved (the standard)
The cutting edge has a noticeable upward sweep toward the tip. The curve helps glide along bones and lets the tip pivot into joints. The dominant Western boning knife shape.
Best for: working along chicken thighs, separating chicken from rib cage, going around T-bones, fish filleting.
Straight (Japanese honesuki)
The Japanese poultry knife — triangular shape, flat edge, sharp pointed tip. Looks like a small angular cleaver. The flat edge gives you full-blade contact with the cutting surface; the tip gets into joints.
Best for: chicken specifically. Many sushi restaurants and high-end butchers use them for poultry breakdowns. Hard to find at general kitchen stores; specialty knife shops carry them.
Honesuki recommendations: Tojiro DP Honesuki ($60), Mac Honesuki ($110), Misono UX10 Honesuki ($230).
Western curved boning knife recommendations
- Victorinox Fibrox 6″: $30. Restaurant standard. Indestructible. The “first boning knife” for most people.
- Mercer Renaissance: $40–$60. Better fit and finish, similar performance.
- Wüsthof Classic 5″: $90–$130. Premium feel, lifetime knife.
- Mac Pro 6″: $120. Japanese steel in Western shape.
Length: 5″ vs 6″ vs 7″
| Length | Best For | Drawbacks |
|---|---|---|
| 5″ | Chicken, fish, small game, tight spaces | Limited reach on big primals |
| 6″ | Most home cooks — poultry, fish, occasional red meat | The default — minor compromises in both directions |
| 7″+ | Large primals (whole pork shoulder, beef cuts) | Clumsy in tight spaces, harder to control on small work |
For 90% of home cooks, a 6″ semi-flexible boning knife covers everything. If you fish often or break down a lot of birds, drop to 5″. If you process larger animals, go 7″.
Steel selection (less critical here)
Boning knives don’t push-cut through hard surfaces — they slide along bones and slip between connective tissue. The cutting forces are smaller than a chef’s knife sees, so steel quality matters less.
Most home cooks are fine with:
- X50CrMoV15 (Wüsthof, Mercer) — the German workhorse stainless.
- VG-10 (Tojiro, Mac) — Japanese mid-tier stainless.
- 1095 carbon for traditionalists — sharpens easier, takes a finer edge, requires care.
(See our Knife Steel Cheat Sheet for the full breakdown.)
Avoid the “exotic Japanese powder steel” tier for boning — chips on bone contact are likely, and the sharpening difficulty isn’t matched by enough performance gain.
The two boning techniques
1) Filleting (along the bone)
Used for: fish, chicken thighs, turkey breasts, anywhere meat clings tightly to bone.
- Place the meat on a stable cutting board (wood or HDPE — see our Cutting Board Showdown).
- Identify the bone you’re working around.
- Hold the knife flat against the bone, edge facing the bone.
- Slide the blade along the bone in long sweeping motions, keeping contact.
- The flexible blade hugs the curve; gravity and the bone do the directional work for you.
2) Seam butchery (between muscles)
Used for: pork shoulder, beef chuck, lamb leg, anywhere muscle groups separate naturally.
- Look for the natural seams between muscle groups — visible as connective tissue lines.
- Insert the tip of the boning knife at a seam.
- Cut through connective tissue along the seam, separating the muscles.
- Pull the muscles apart by hand once they’re loose.
- The knife is doing minimal cutting; the seams are doing the work.
This is how professional butchers break down primal cuts into individual muscles like flat iron, picanha, and tri-tip — using the natural anatomy of the animal instead of just chopping.
How to break down a whole chicken in 4 minutes
The classic test of a boning knife. A 4-pound whole chicken breaks down to 8–10 pieces (or 6 large pieces) in about 4 minutes once you’ve practiced.
- Place chicken breast-up on a cutting board.
- Remove the legs. Pull the leg out, slice through the skin between thigh and breast, then pop the joint by bending the leg back and slicing through the joint with the tip.
- Separate thigh from drumstick. Find the joint (you can feel it), slice through it.
- Remove the wings. Pull each wing out, slice through the joint where it meets the body.
- Split the carcass. Cut down both sides of the spine through the rib bones (the boning knife handles this if it’s stiff enough; otherwise use kitchen shears or a chef’s knife).
- Split the breast in half. Open the carcass, slice along the keel bone, separate the two breast halves.
- Save the spine and rib bones for stock.
Total time: 4–6 minutes once practiced. Cost savings: a whole chicken at $1.79/lb vs the equivalent cuts at $5–$9/lb. On a 4-lb bird, you save $13–$28 per chicken. Multiply by 50 chickens a year for a family.
The economics of buying whole vs cut-up
| Item | Whole Cost | Trimmed Cost (Equivalent) | Savings |
|---|---|---|---|
| Chicken (4 lbs) | $7 | $25 | $18 |
| Pork shoulder (8 lbs) | $24 | $48 | $24 |
| Pork tenderloin (untrimmed, 2 lbs) | $8 | $15 | $7 |
| Whole salmon (5 lbs) | $45 | $70+ | $25+ |
| Whole beef brisket (12 lbs) | $72 | n/a (rarely sold trimmed) | — |
Real numbers vary by region, season, and store. The pattern is consistent: whole or untrimmed cuts cost 30–60% less per pound of usable meat. The boning knife pays for itself fast.
Using a boning knife safely
The narrow flexible blade and the meat-holding-with-your-other-hand reality means boning is one of the higher-risk knife jobs in a home kitchen. The fixes:
- Sharp blade. Dull boning knives slip more, not less. (See Honing vs Sharpening.)
- Edge moves away from holding hand. Always.
- Stable surface. Place a damp towel under the cutting board to prevent slipping.
- Cut-resistant glove on the holding hand. Especially when learning. $15 glove, prevents most boning-knife emergency-room visits.
- Keep the tip pointed away. The most common boning injury is the tip slipping into the holding hand when working through joints.
- Don’t pry. If a joint won’t separate, you’re cutting in the wrong place — adjust angle, don’t apply more force.
Care basics
- Hand-wash in hot water with dish soap, towel-dry immediately. Never dishwasher (covered in our Knife in the Dishwasher guide).
- Store edge-protected — magnetic strip, drawer organizer, or saya. Boning knife tips snap easily on rack contact.
- Hone before each use. The thin blade benefits from frequent realignment.
- Sharpen every 2–3 months for active users. The narrow blade needs careful angle work — pull-throughs are bad here.
- Carbon steel boning knives need oiling after every use to prevent rust at the tip.
Marketing traps to avoid
- “Boning knife and fillet knife combo.” They’re often the same thing — fillet knives are flexible boning knives by another name. Sometimes a fillet knife is longer and more flexible (designed specifically for fish). Don’t pay for a “set” that’s two of the same tool.
- “Pull-through boning knife sharpener.” The narrow blade shape doesn’t fit standard pull-through slots properly. You’ll grind weird angles. Use a whetstone or send to a pro.
- “Universal boning/fillet/utility knife.” Compromise on all three. Buy the right tool for the job you actually do.
- $15 “professional boning knives.” Stamped low-carbon steel, plastic handle, blade flex from material weakness rather than design. Will rust on the first chicken thigh.
- “Damascus boning knife” at premium prices. The pattern doesn’t help boning. The pattern can break up around the narrow flexing tip and looks worse than a clean blade after a few months.
The Grumpy Dad recommendation by use
“I bought a Costco rotisserie chicken and that’s where chicken comes from”
Skip the boning knife. You don’t break down whole birds.
“I buy whole chickens or fryers regularly”
Victorinox Fibrox 6″ semi-flexible ($30) or Mercer Renaissance 6″ ($45). Workhorse, breaks down 50 chickens before noticeably dulling.
“I fish and clean my own catch”
Victorinox Fibrox 7″ Fillet Knife ($35) or Wüsthof Classic Fillet 7″ ($120). Longer, more flexible blade for the fish-spine glide.
“I break down a lot of bird and want a specialty tool”
Tojiro DP Honesuki ($60) or Mac Honesuki ($110). Japanese poultry knife, faster and cleaner on chicken.
“I process whole hogs or do home butchery”
Stiff 6″ boning knife from Mercer or Dexter-Russell ($35–$50). Plus a heavier breaking knife (8–10″) for primal work.
Mistakes that ruin boning knives
- Using it as a paring knife (the flex is wrong for in-hand work).
- Cutting on glass or marble — bends the flexible blade permanently.
- Snapping the tip on bone (the tip is the most fragile part — never lever with it).
- Storing loose in a drawer with the chef’s knife (the boning blade flexes against the chef’s blade and dulls both).
- Not drying the tip — water sits in the curve and rusts.
- Sharpening at chef’s-knife angles (boning knives use a slightly steeper angle for durability).
If you only remember five things
- Semi-flexible 6″ is the default for home cooks. Curved profile, riveted handle.
- Buying whole or untrimmed cuts saves 30–60% per pound. The knife pays for itself fast.
- Filleting (along bone) and seam butchery (between muscles) are two different motions.
- A whole chicken breaks down to 8 pieces in 4–6 minutes once practiced.
- Cut-resistant glove on the holding hand — especially while learning.
FAQ
Can my chef’s knife replace a boning knife?
For occasional jobs, yes. For regular bird or fish breakdown, no — the chef’s knife is too wide and inflexible for tight bone work. You’ll work twice as long with messier results.
What’s the difference between a boning knife and a fillet knife?
Mostly marketing. Fillet knives are usually longer (7–9″) and more flexible than boning knives. A boning knife handles fish work passably; a fillet knife handles meat work clumsily. If you fish often, get a fillet knife. If you don’t, a boning knife covers fish well enough.
Can I use a Japanese honesuki on red meat?
Possible but suboptimal. The honesuki is designed for poultry — short flat edge, sharp tip. The pointed shape and limited blade height struggle on large red-meat seam butchery. Stick to chicken/duck/quail with a honesuki.
How sharp does a boning knife need to be?
Razor sharp at the tip especially. Boning knives slide more than they slice; a dull edge requires force, force causes slips, slips cause hospital visits. Hone before every session.
Can I sharpen a boning knife with a steel rod?
For honing the long edge, yes. For the curved tip and the narrow blade flexibility, ceramic rods work better than steel rods. Whetstones for actual sharpening; rods for daily realignment.
Why are boning knives so much cheaper than chef’s knives?
Less material, simpler manufacturing, smaller market — boning knives are bought primarily by people who already cook with whole-animal cuts. The market is pros plus committed home cooks. Less brand premium, more honest pricing.
Should I buy carbon steel for a boning knife?
Only if you’ll dry and oil it after every use — boning knives get exposed to a lot of meat juices, blood, and washing. Stainless is more practical for most home cooks. Save carbon for chef’s knives where the performance gap is more noticeable.
The Grumpy Dad Promise
Buy a $30–$60 semi-flexible 6″ boning knife from a real brand. Use it once a month on a whole chicken. Save $15–$25 per chicken on the part-of-meat math. Get cleaner cuts, develop a useful skill, and feel like you actually know what you’re doing in your kitchen.
The boning knife is the most under-owned tool in American home kitchens — and the one that pays itself off fastest. Buy whole chickens. Break them down. Save the bones for stock. Now go bone something.