Weekend Grilling: The Cut You Should Be Cooking Instead of Ham

Ham is fine.
Ham feeds people. Ham slices cleanly. Ham has been on holiday tables since before anyone reading this was born, and there’s nothing wrong with it. It does exactly what it promises and nothing more.
But here’s the thing nobody says: if you’re the one cooking, you have options. The guests show up regardless. The kids are running around the yard regardless. The afternoon is yours regardless. And if you’re going to stand over a fire for two hours — or three, or four — you might as well be cooking something that earns the time.
This is that guide. Two cuts. One method each. Both better than the ham.
The Case for Spring Grilling
Early spring is when the weather is either perfect or trying to be. The first real outdoor cooking weekend of the year shows up around now in most of the country — the grill has been sitting cold since November, the charcoal bag has been in the garage, and somebody should really fire the whole thing up and remind themselves how it works.
A weekend like this usually means a crowd. Family, in-laws, people you see twice a year. Which means this is a performance. Not in the anxious way — in the good way. The way where you get to cook something properly for people who are going to eat it outside, in the afternoon, with time enough to actually taste it.
That combination — spring weather, a crowd, daylight, and a legitimate reason to cook — doesn’t come around often. If you’re still figuring out what rig is powering this session, the charcoal vs. gas vs. pellet honest dad breakdown is worth a read before you light anything. Use it.
Cut One: Bone-In Leg of Lamb
If you have never grilled a leg of lamb, your first time will feel like you’ve been cooking the wrong thing for years.
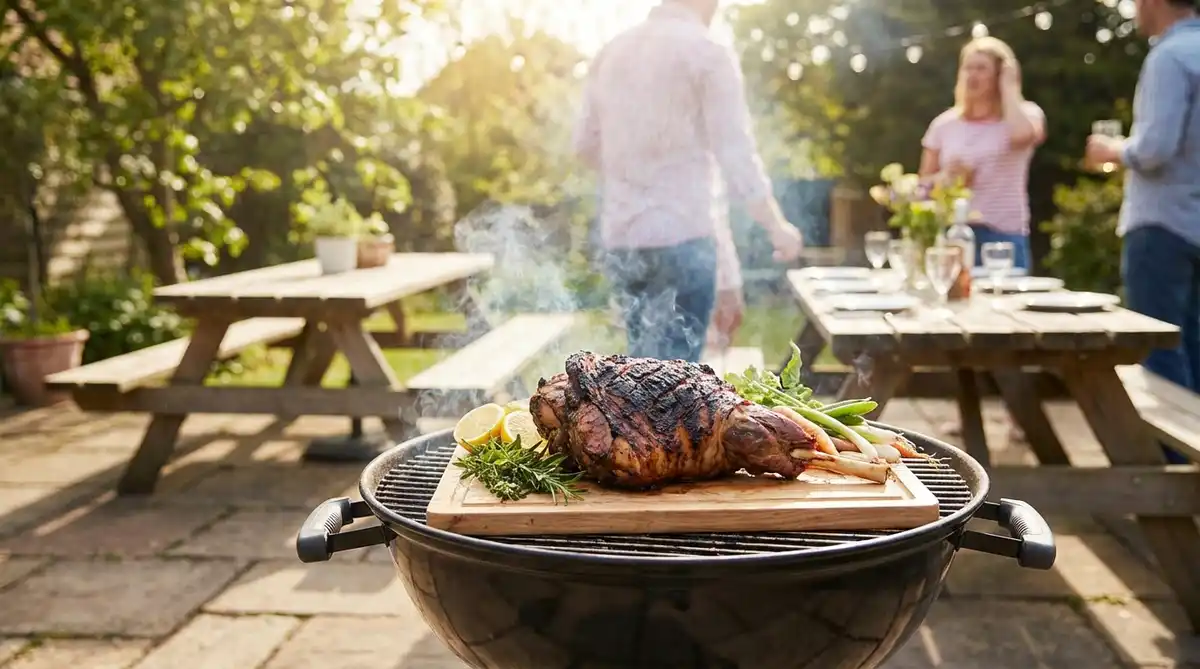
Lamb is the older spring-feast tradition — the ham habit is a largely American overlay on a much older practice. In most of the world, the spring table means lamb. There’s a reason for that beyond tradition: spring lamb is young, tender, and has a flavor profile that no other red meat produces. Mildly gamey in the best sense. Rich without being heavy. It takes smoke and char like it was designed for them, because in a way it was.
What to buy: A bone-in leg of lamb, 5 to 7 pounds. Not boneless. The bone keeps moisture in during a long cook and adds flavor to the outer meat as the collagen breaks down. Your butcher can butterfly it if you want faster, more even cooking — and for a crowd, butterflied is often the move.
The marinade: Lamb wants Mediterranean flavors and they’re not subtle about it. Combine olive oil, fresh rosemary, crushed garlic, lemon zest, dried oregano, salt, and black pepper into a paste. Coat the entire leg. Cover and refrigerate for at least four hours. Overnight is better. Twelve hours is the target.
The marinade isn’t decorating the lamb. It’s doing work — the acid in the lemon begins breaking down the outer muscle fibers, the fat carries the aromatic compounds deep into the meat, and by the time the lamb hits the fire, you’ve already built the first layer of flavor.
The cook — bone-in whole leg: Set up your grill for indirect heat. On charcoal, bank the coals to one side. On gas, light two burners on one side and leave the other off. You want the cooking temperature at 325°F to 350°F with the lid on.
Place the leg on the indirect side, bone-side down. Close the lid and leave it. Resist the urge to check it every ten minutes. A 6-pound bone-in leg needs approximately 20 to 25 minutes per pound for medium — an internal temperature of 135°F for medium-rare, 145°F for medium. Use a probe thermometer and pull it 5 degrees before your target. It will carry over.
At the end, move the leg over direct heat for a final 3 to 4 minutes per side. You want color — you want a crust on the outside that smells like rosemary and charred fat. That last step is what separates a good lamb from a great one.
Butterflied leg: Faster. The lamb lies flat over indirect heat and cooks in roughly half the time — 45 minutes to an hour for a 5-pound butterflied leg to reach 135°F internal. The cook is more active because the irregular thickness means some parts cook faster. A probe thermometer in the thickest section keeps you honest.
Rest time: 15 minutes, tented loosely with foil. Non-negotiable. The juices need to redistribute before you cut. Slice against the grain in long, diagonal cuts. A sharp knife matters here — a blade that drags through lamb is just tearing, and tearing loses juice.
Cut Two: Thick-Cut Bone-In Ribeye
For the household where lamb is a non-starter — the kids won’t touch it, the in-laws are suspicious of anything that isn’t beef — the bone-in ribeye is the move.
Not a regular ribeye. A thick-cut, bone-in ribeye. At least 1.5 inches. Two inches if your butcher has them. The bone is a cowboy ribeye, and it is exactly what it sounds like.
Why bone-in matters: The bone acts as insulation during cooking, slowing the heat near the bone and producing a gradient of doneness from the edge inward. The meat closest to the bone stays more rare. The cap muscle — the spinalis — renders and bastes the center during the cook. A thick bone-in ribeye cooked properly has three or four different textures and fat levels in a single cut. It’s a complete experience.
The method — reverse sear: This is the right technique for a steak this thick, and it’s simpler than most people expect.
Set up the grill for indirect heat at 250°F to 275°F. Season the ribeye aggressively with kosher salt and black pepper — at 1.5 to 2 inches thick, you need more seasoning than feels right. Let it sit at room temperature for 45 minutes before it hits the grill.
Place the steak on the indirect side. Insert a probe thermometer into the center of the thickest part, not touching the bone. Close the lid. Cook to 10 to 15 degrees below your target temperature — 115°F for medium-rare, 125°F for medium.
Remove the steak. Crank the grill to maximum heat. Let it rip for 10 to 15 minutes until it’s genuinely, properly hot. Then sear the steak over direct heat — 60 to 90 seconds per side, moving it every 30 seconds if you have flare-ups. You’re not cooking it here. You’re building crust.
The result: edge-to-edge even cooking with a sear that would take an expert to replicate any other way. Pull it at 5 degrees above your low-indirect temperature. Rest 10 minutes.
Cast iron option: If your grill doesn’t get hot enough for a proper sear, or you want more control, finish in a screaming-hot cast iron skillet. A Lodge 12″ pre-seasoned cast iron skillet handles this job perfectly — preheat it on a burner for 5 minutes. Add a high-smoke-point oil — avocado oil, grapeseed. Sear 60 seconds per side. Add butter, garlic, and thyme in the last 30 seconds and baste continuously.
The Equipment That Actually Matters
Both of these cooks benefit from the same three tools, in order of importance. (Everything mentioned here lives in the grills and outdoor cooking collection if you need to stock up.)
A probe thermometer. There is no substitute. Guessing doneness by touch or time is the reason cookouts produce both overcooked and undercooked meat on the same day. A wireless probe thermometer — the MEATER Plus, for example — lets you set the target, walk away, and get an alert when the meat is done. You’re not babysitting the grill. You’re hosting the party.
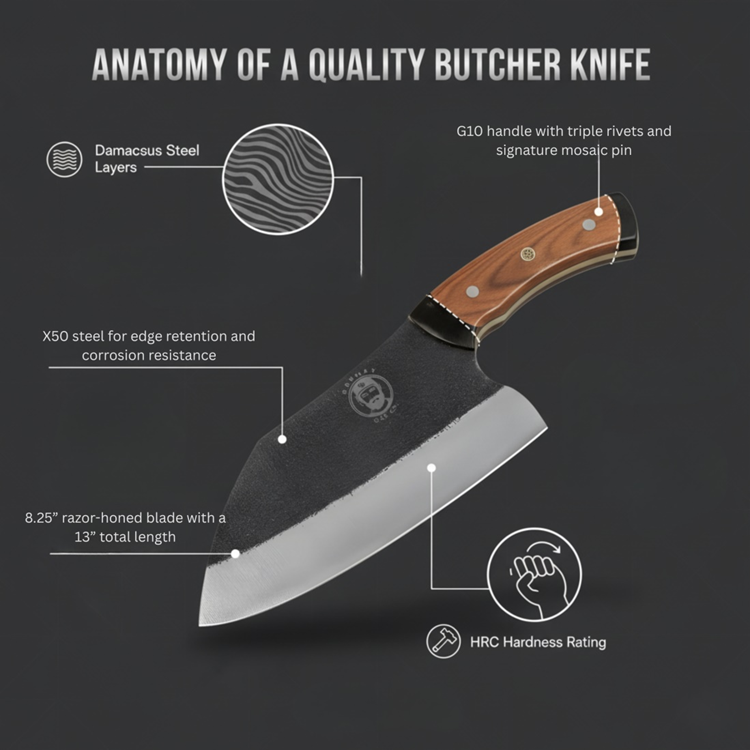
A sharp knife for carving. A leg of lamb carved with a dull knife is a frustrating mess. The slices tear rather than separate cleanly, you lose juice, and the presentation suffers. A good carving knife or chef’s knife with a maintained edge — a Grumpy Dad 8″ Damascus, a Bunka for the smaller trim work — is what makes the difference between presenting a carved roast and hacking at one in front of your in-laws.
A reliable grill thermometer. Most built-in grill thermometers are inaccurate by 25 to 50 degrees. A separate grill thermometer clipped to the grate level — where the food actually is — tells you what temperature your food is experiencing, not what the lid is measuring.
That’s the list. Three tools. Everything else is nice to have.
Timing for a Crowd
Here’s the practical problem a spring crowd presents: you have a variable number of guests, side dishes happening in the kitchen, and a window of about 90 minutes between when people are hungry and when they’re irritable.
Work backward from when you want to eat.
Leg of lamb, bone-in (6 lbs): Start the cook 3 to 3.5 hours before serving. Account for 2 to 2.5 hours of cooking and 15 to 20 minutes of resting. It holds reasonably well tented for up to 30 minutes, so there’s a buffer.
Butterflied leg of lamb (5 lbs): Start 1.5 to 2 hours before serving. Faster cook, less margin for error. Don’t start this one without your thermometer in place.
Bone-in ribeyes (2 steaks, 2 inches thick): These go last. Reverse sear takes 45 minutes to an hour at low heat, plus 10 minutes of rest. Start them while the sides are finishing. Two large ribeyes feeds four to six people generously.
If you’re doing both — one lamb for the crowd, one ribeye for the table — start the lamb in the morning and cook the ribeye as the lamb is resting. The grill stays lit either way.
What to Serve Alongside
This isn’t a sides article, but context matters.
Lamb wants acid and herbs alongside — roasted vegetables, a mint yogurt sauce, something with lemon. The richness of the lamb needs counterbalance, and the char from the grill takes on brightness from acidic accompaniments.
Bone-in ribeye wants nothing complicated. Roasted garlic, good salt, maybe a simple pan sauce from the carving board drippings. A ribeye this good doesn’t need a sauce — but the drippings, deglazed with a little red wine and a knob of butter, are worth the two minutes it takes.
Neither needs much. The cut is the statement. Let it be. And if any of this feels like it might go sideways, run through the 10 grilling mistakes dads make before the guests arrive.
The Short Version
Ham is fine. But you have a grill, you have a crowd, and you have a Sunday afternoon that won’t repeat until next year.
A bone-in leg of lamb, marinated overnight, grilled indirect and finished over fire. Or a thick cowboy ribeye, reverse seared to edge-to-edge perfect, finished with a sear that sounds like an argument.
Either one is a better use of the day than anything that comes pre-glazed in a spiral-cut vacuum bag.
Fire it up. They’ll still eat the deviled eggs. They’ll talk about the lamb.
Grumpy Dad Co. — Sharp tools. Good fire. No nonsense.
Browse knives, thermometers, and cast iron in our outdoor cooking collection at grumpydadco.com
🔥 A great cut deserves a great blade
Cook the better cut, then slice it clean. Reach for the do-it-all Grumpy Dad Co 8″ Damascus Chef Knife or go heavy-duty with the Grumpy Dad Heavy-Duty Butcher Knife, and gear up in Grills & Outdoor Cooking.