How to Reverse Sear a Steak (And Why It Works)

There’s a moment in most steak cooks that produces anxiety.
You pull the steak from the heat, cut into it to check doneness, and you see a gray ring — an overcooked band running from the edge inward, surrounding a smaller zone of the color you were trying to hit. The sear looks right on the outside. The inside tells a different story.
This happens because traditional searing — high heat from the start — cooks the outside of the steak much faster than the inside. By the time the center reaches your target temperature, the outer layer has been above that temperature for several minutes. The result is a steak that’s technically done to the right temperature in the center, but overcooked everywhere else.
The reverse sear eliminates this entirely.
What the Reverse Sear Actually Does
Traditional method: high heat first, rest, done.
Reverse sear: low heat first, then high heat.
The logic is straightforward. When you cook a thick steak at a low temperature (225°F to 275°F) for an extended time, the heat moves slowly and evenly through the meat. The entire steak gradually rises to near your target temperature — edge to edge, at almost the same rate. There’s no temperature gradient creating an overcooked outer ring, because the outside hasn’t been subjected to extreme heat yet.
Then you apply extreme heat — a screaming-hot cast iron, the hottest zone of a grill, a broiler — for a short time. You’re not cooking the steak at this point. You’re building a crust. The Maillard reaction — the browning reaction that produces the flavor compounds in a good sear — happens fast at high heat. A 90-second sear on a steak already at 120°F produces a better crust with less overcooking than a 4-minute sear on a cold steak.
The result: edge-to-edge even doneness with a crust that competes with any restaurant sear.
Two other benefits worth mentioning:
It’s more forgiving. A steak held at low heat doesn’t overcook quickly. If you’re pulled away for five minutes during the low phase, the steak isn’t ruined. A steak in a screaming hot pan doesn’t wait for you.
The surface dries out during the low cook. Moisture on the surface of a steak resists browning — steam impedes the Maillard reaction. A steak that’s been in a low oven or on indirect grill heat for 45 minutes has a dry surface that sears immediately and aggressively when it hits high heat. The crust forms faster and develops more flavor.
The Steak: What to Buy
The reverse sear is specifically designed for thick steaks. At 3/4 inch, the traditional method works fine — the heat reaches the center quickly enough that the temperature gradient problem is minimal. At 1.5 inches and above, the reverse sear produces measurably better results.
Thickness target: 1.5 to 2 inches. This is not a thin weeknight steak. This is a deliberate piece of meat.
Best cuts for this method:
Ribeye (bone-in or boneless): The fat content in a ribeye renders during the long low cook, basting the muscle throughout. By the time it hits the sear, the marbling has distributed through the meat. This is the best cut for the reverse sear — the method and the cut are designed for each other.
New York strip: Leaner than ribeye, slightly firmer texture, a cleaner flavor profile. The reverse sear works well here. Less fat to render, but the even cooking is still the point.
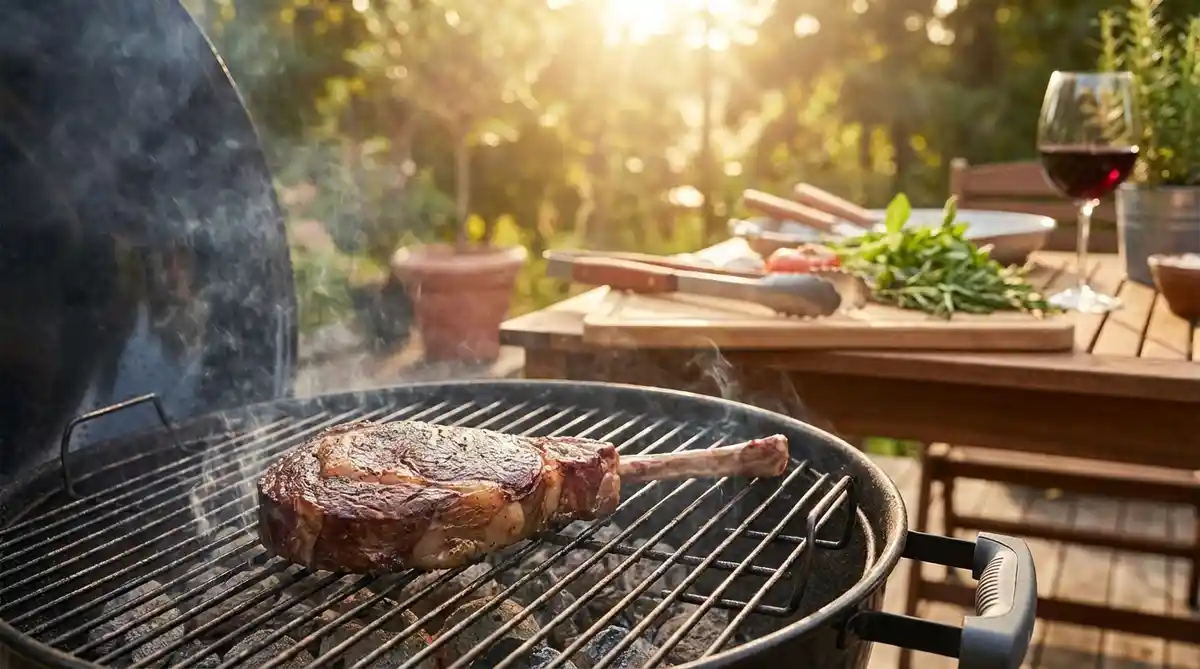
Tomahawk: A bone-in ribeye with a long frenched rib bone. Theatrical. The bone adds flavor. The thickness (usually 2 to 2.5 inches on a tomahawk) makes the reverse sear the correct method rather than a preference.
Filet mignon (tenderloin): You can reverse sear a filet. The method works. The cut is already tender and mild — the reverse sear adds even cooking, but the filet doesn’t need the fat-rendering benefit the way a ribeye does. Not wrong. Not the best application.
Quality: USDA Choice at minimum. Prime for a celebration cook. The reverse sear extracts more from a good piece of meat than other methods — it also reveals a mediocre piece of meat more clearly. Spend appropriately.
The Equipment
A probe thermometer — non-negotiable for the low phase. The MEATER Plus is the recommendation: wireless, reads ambient heat and internal temp simultaneously, sends a phone alert when you hit your target. During a 45-minute low cook, you shouldn’t be hovering. Set the target, walk away.
A cast iron skillet or a very hot grill — for the sear. Cast iron is the more controlled option: you can get it screaming hot on a stovetop burner, manage the heat precisely, and baste with butter and aromatics in the final seconds. A gas or charcoal grill cranked to maximum also works — particularly on a tomahawk where the size makes a skillet awkward.
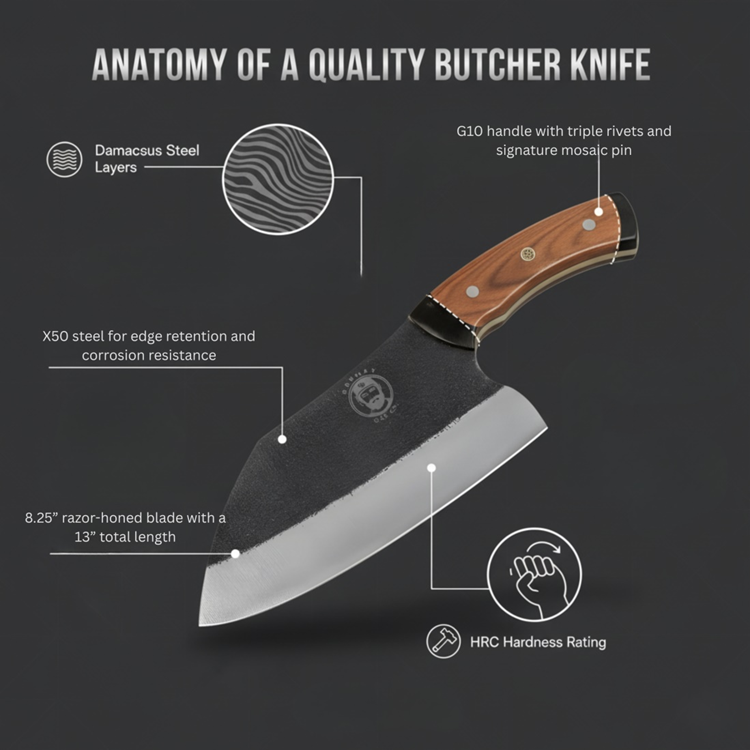
A sharp carving knife — a steak this thick, rested and ready to slice, deserves a blade that separates rather than tears. A Grumpy Dad Damascus Chef Knife or a longer slicing knife. The quality of the slice matters — the juice that stays in the meat when cut cleanly is the juice that doesn’t puddle on the cutting board.
Tongs, not a fork — every time you pierce a steak during the cook, you lose juice. Tongs throughout.
The Method: Step by Step
Step One: Prepare the Steak
Season aggressively. Kosher salt — more than feels right — and coarse black pepper on all surfaces. For a 1.5-inch ribeye, a teaspoon of kosher salt per side is not excessive.
Pat the surface dry with a paper towel. Place the steak on a wire rack set over a sheet pan. Leave it uncovered in the refrigerator for at least one hour, up to overnight. This dries the surface further and allows the salt to begin its work — drawing moisture out of the surface, then being reabsorbed and migrating deeper into the meat.
Remove from the refrigerator 30 to 45 minutes before the cook begins. You want the surface at room temperature, even if the center is still cool.
Step Two: The Low Cook
Oven method: Preheat to 250°F. Place the wire rack and sheet pan on the center rack. Insert the probe thermometer into the thickest part of the steak, not touching bone. Close the door.
Grill method: Set up for indirect heat. On charcoal, bank coals to one side. On gas, ignite one or two burners on one side, leave the other off. Target 225°F to 275°F ambient temperature on the indirect side. Place the steak on the cool side, probe inserted.
Target temperature for pull (before sear):
For medium-rare (target: 130°F to 135°F final): pull at 115°F to 120°F
For medium (target: 140°F to 145°F final): pull at 125°F to 130°F
The carryover from the sear will add 10 to 15 degrees to the final temperature.
Typical low-cook time for a 1.5-inch steak at 250°F: 25 to 45 minutes. For a 2-inch cut: 45 to 60 minutes. The probe tells you when it’s time — not the clock.
Step Three: The Sear
Rest the steak briefly while you prepare the sear surface — 5 minutes maximum. You want to sear while the steak is still hot.
Cast iron method: Place the skillet on your highest-heat burner. Let it preheat for 4 to 5 full minutes — the pan should be visibly smoking and nothing you put in it should survive longer than 10 seconds without dramatic browning. Add a high-smoke-point oil — avocado oil, grapeseed, refined coconut — just enough to coat the surface.
Place the steak in the pan. Do not touch it for 45 to 60 seconds. If it’s not releasing cleanly, give it another 15 seconds. Sear the second side the same way. Then hold the steak on its edges to sear the fat cap and the sides — each edge, 20 to 30 seconds.
In the last 30 seconds: add a tablespoon of butter, two smashed garlic cloves, and a few sprigs of thyme to the pan. Tilt the pan and baste the steak continuously with the foaming butter. This adds another layer of flavor and helps the crust develop evenly.
Grill method: Crank all burners to maximum, or add a full chimney of fresh hot coals over the existing coals. Let the grates heat for 5 to 10 minutes. Sear the steak on the hottest zone — 45 to 60 seconds per side, moving every 20 seconds if flare-ups occur.
Step Four: The Rest
Pull the steak. Place on a cutting board — not back on the wire rack, not wrapped in foil. Loose foil if you must, but foil traps steam and softens the crust you just built.
Rest for 5 to 10 minutes. At this thickness, 8 minutes is right.
Step Five: The Slice
For presentation: against the grain, on a slight diagonal, approximately 1/2 inch thick. A ribeye’s grain runs lengthwise — slice perpendicular to it. A strip steak’s grain is tighter — same direction, slightly thinner slices.
Look at the cross-section. The pink should run from edge to edge with only a thin band of darker meat directly under the crust. That’s the reverse sear working. That’s what edge-to-edge even cooking looks like.
The Numbers at a Glance
| Target Doneness | Pull Temp (Low Phase) | Final Temp After Rest |
|---|---|---|
| Rare | 105°F–110°F | 120°F–125°F |
| Medium-Rare | 115°F–120°F | 130°F–135°F |
| Medium | 125°F–130°F | 140°F–145°F |
| Medium-Well | 135°F–140°F | 150°F–155°F |
One Last Thing
The reverse sear is not a technique for every steak. A thin weeknight sirloin doesn’t need it. A 3/4-inch flat iron done over direct heat for 3 minutes per side is correct.
The reverse sear is the technique for the steak you decided deserves the best version of itself. The thick ribeye on a Saturday when there’s time to do it right. The tomahawk for a birthday dinner. The Father’s Day steak that someone spent $40 on and handed to you with an expectation.
That steak deserves the method. The method delivers.
Grumpy Dad Co. — The right method for the right occasion.
Browse the full outdoor cooking and grilling collection at grumpydadco.com