
How to Clean Your Grill After a Big Cook

The cookout is over. The food was good. The people are gone.
The grill is sitting there with two pounds of rendered fat in the drip tray, carbonized debris on every grate surface, and grease on the interior walls that is going to be significantly harder to deal with in two weeks than it is right now.
Most people close the lid and come back to it later. Later becomes next weekend. Next weekend becomes a problem that gets addressed — or doesn’t — sometime in August when the grill produces unexpected smoke from old drippings and someone asks what’s burning.
This is the guide for the 20 minutes after a big cook that prevents all of that.
Why Post-Cook Cleaning Is Easier Than You Think
The grill is at peak cleaning temperature right now.
Grease, fat drippings, and carbonized food debris are at their most removable state when they’re warm. Hot fat is liquid and mobile. Carbonized material at cooking temperature is brittle and releases from surfaces without much force. The same debris at room temperature, a week later, has cooled into a bonded layer that takes significantly more effort to remove.
The grill doesn’t need to be restaurant-clean after every cook. It needs to be cleaned enough that:
1. The next cook doesn’t inherit the flavor of this one
2. Accumulated grease doesn’t become a fire hazard
3. The grates stay in serviceable condition longer
Twenty minutes, while the grill is still warm, handles all three.
The Post-Cook Cleaning Process
Step One: The Grate Clean (While Hot)
While the grill is still hot from cooking — or reheated to high for 5 to 10 minutes if it’s cooled — scrub the grates.
What to use: A bristle-free grill brush. This is not a small point. Wire bristle brushes shed metal filaments onto the grates, where they mix with food during the next cook and end up on the plate and occasionally in someone’s throat. The bristle-free alternatives — woven mesh heads, coiled wire heads, scraper tools — do the same mechanical work without the risk.
The bristle-free replaceable brush head uses heavy-duty woven stainless on one side (for general debris removal) and a solid scraper on the reverse (for stuck-on material). Work heel to tip across each grate rod, applying moderate pressure. Hot debris releases with minimal effort.
What you’re achieving: Removal of food particles, char residue, and surface grease from the grates. You’re not restoring them to factory condition — you’re removing the layer that will transfer undesirable flavor to the next cook.
After scrubbing: With a paper towel held by tongs, wipe a thin coat of high-smoke-point oil across the grates while they’re still hot. This seasons the grates and prevents surface rust — particularly important for cast iron grates, which will rust overnight if left bare.
Step Two: The Interior
For a gas grill: after you’ve cleaned the grates and removed them, look at the interior walls and lid. You’re looking for:
Flaking carbonized buildup — black, paint-chip-like material on the interior walls and lid. This is accumulated drippings that have carbonized over multiple cooks. Moderate amounts are normal and non-hazardous. Heavy accumulation starts contributing flavor (not a good flavor) and eventually falls onto food. Use a putty knife or a grill scraper to knock off the thick flaking material. You’re not polishing — you’re removing the loose layers.
Grease pooling — anywhere liquid fat has collected and isn’t draining to the tray. This is a fire hazard at any accumulation, and the time to address it is while it’s still warm and mobile. A paper towel with tongs removes liquid grease from surfaces efficiently.
For a charcoal grill: after the coals are fully extinguished (which may mean the next morning — never close a charcoal grill with active embers), empty the ash from the firebox completely. Old ash absorbs moisture and becomes mildly corrosive. A clean, dry firebox is where you start every cook.
Step Three: The Drip Tray
This is the step most people skip the longest and regret the most.
The drip tray or grease cup collects everything that falls through the grates during cooking — fat drippings, marinade runoff, the rendered collagen from a brisket. After a large cook like a July 4th pork shoulder or ribs, the drip tray can hold a significant amount of accumulated fat.
If this tray overflows during a future cook, you have a grease fire. This is not hypothetical.
Empty the tray. Wipe it clean with paper towels. Line it with a piece of foil for the next cook — makes cleaning it faster and extends the liner’s life.
This takes three minutes. It is the most consequential three minutes of grill maintenance.
Step Four: The Exterior Wipe-Down
Optional for routine post-cook cleaning. Worth doing after a large cook that may have splashed grease on the exterior or left fingerprints and smudges from a long day of use.
Stainless exterior: Wipe with a damp cloth, then dry. For stubborn grease on stainless, a small amount of dish soap on a cloth, wiped with the grain of the steel, then rinsed and dried. Stainless cleaner/polish once a month keeps the exterior looking intentional rather than neglected.
Painted or powder-coated exterior: Warm soapy water, wipe, rinse, dry. Don’t use abrasives — they scratch the coating and expose the underlying metal.
The cover goes on after everything has fully cooled. Putting a cover on a warm grill traps humidity inside and accelerates rust and corrosion. Wait until the grill is at ambient temperature.
The Monthly Deep Clean
The post-cook routine above keeps the grill functional between cooks. Once a month during heavy use season (May through September), a deeper pass is worth the additional 30 minutes.
Burner inspection (gas grills): Remove the cooking grates, then the flavorizer bars or heat shields. Look at the burner tubes directly. The holes in the burner should be clear — use a wire or a straightened paper clip to clear any that are clogged. Check for spider webs or insect nests in the burner housing, particularly if the grill has sat unused for a week or more.
Interior scrub: With a stiff wire brush or a paint scraper (not on porcelain-coated surfaces — use a plastic scraper there), work the interior walls and lid to remove all loosened carbonized buildup. Wipe down with a damp cloth.
Flavorizer bars/heat shields: These are intentionally designed to take the heat and burn off drippings. They’re sacrificial and eventually need replacement — if they’re heavily rusted through, cracked, or flaking into the firebox, replace them. They’re inexpensive and available for most major brands.
The entire grease management system: Drip tray, grease cup, the channel the grease runs through from the firebox to the cup. All of it. Any accumulation anywhere in this path is a fire risk.
The Tools for the Job
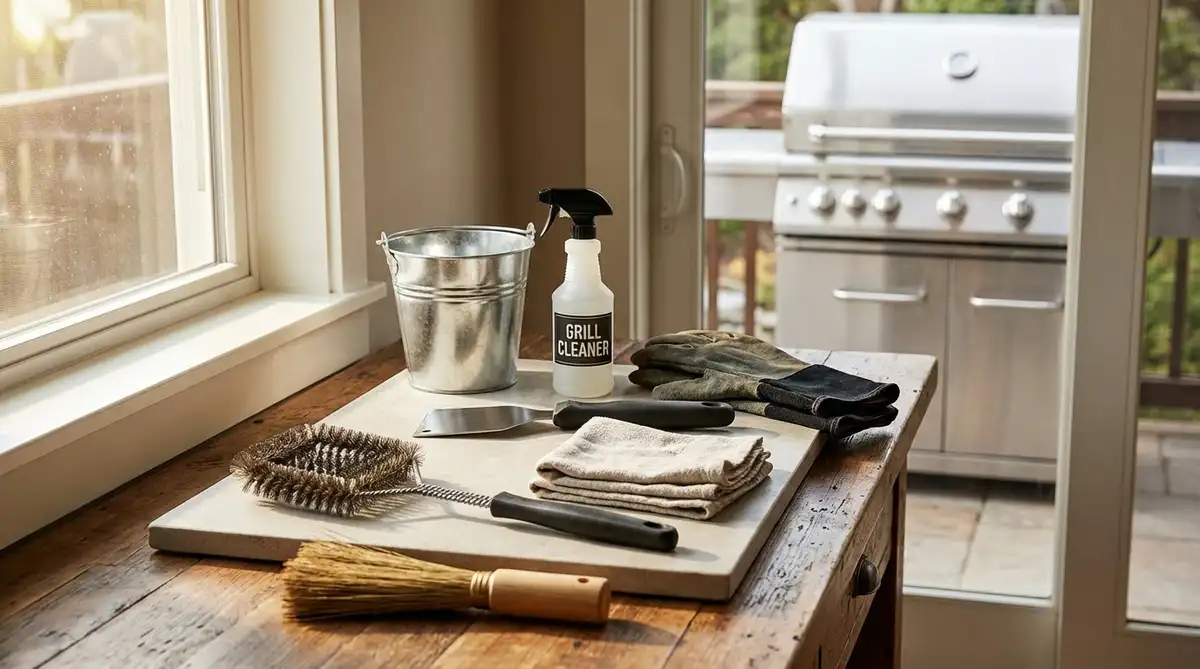
A grill cleaning kit doesn’t need to be elaborate. Five things cover everything:
1. A bristle-free grill brush — for every pre-cook and post-cook grate cleaning. The one non-negotiable. The bristle-free replaceable head in the Grumpy Dad catalog is the right design: heavy-duty mesh head for general debris, scraper on the reverse for stuck material.
2. A putty knife or grill scraper — for interior wall scraping during deep cleans. A $5 hardware store purchase that does real work.
3. A roll of paper towels and long-handled tongs — for applying the post-clean grate oil, wiping liquid grease from surfaces, and handling anything hot.
4. Heavy-duty aluminum foil — for lining the drip tray. A sheet of foil in the tray before every cook makes post-cook cleanup a 30-second job instead of a 5-minute scrubbing session.
5. A can of stainless cleaner/polish — for the exterior, once a month. Keeps the grill looking maintained rather than abandoned.
That’s the list. Everything else is marketing.
What Happens When You Skip This
This section exists not to lecture but to be honest about what routine grill cleaning prevents.
Flavor contamination: Accumulated drippings from a previous cook go through multiple heat cycles, oxidize, and develop off-flavors. Your July 4th pork shoulder’s rendered fat, cooked and recooked four Saturdays in a row, produces a background flavor in every subsequent cook that isn’t the current protein. Most people notice this and attribute it to their technique. It’s not their technique.
Grease fires: Accumulated grease in the drip tray, on the flavorizer bars, and on the interior walls is combustible. A significant grease fire in a gas grill can damage the grill permanently, void the warranty, and occasionally results in emergency situations when the fire exceeds what closing the lid can control.
Premature equipment replacement: A grill maintained consistently lasts significantly longer than one that’s cleaned when it obviously needs it. Grates develop rust because they were left bare after a cook. Burners clog because nobody checked them. Flavorizer bars warp and crack because the accumulated drippings were never removed. Grills that “stopped working right” are usually grills that stopped being maintained.
Cleaning after a big cook isn’t about being tidy. It’s about protecting the equipment and keeping the next cook honest.
The Short Version
The grill is warm. The cook was great.
Twenty minutes now saves an hour of work later. Empty the drip tray. Scrub the grates while they’re hot. Oil them before they cool. Wipe the interior. Close the lid when it’s at ambient temperature.
The next time you light it, it’s ready. That’s the trade.
Grumpy Dad Co. — Tools built for the work, not the shelf.
Browse grill brushes, accessories, and the full outdoor cooking collection at grumpydadco.com