Knife Sharpening 101: Whetstones, Honing Rods, and What You’re Actually Doing

A dull knife is the most dangerous tool in the kitchen.
Not because dull knives are inherently violent — because dull knives require force. When a blade won’t part food cleanly, you compensate by pushing harder, applying more pressure, changing the angle. All of that increases the chance of the knife moving in a direction you didn’t intend.
A sharp knife goes where you send it. A dull knife goes where it wants.
Most households have dull knives and have had them for years without connecting the dots. The knife feels fine because nothing sharp is nearby to compare it to. The cook adjusts to the knife’s limitations without realizing it — cutting in the direction the knife naturally wants to go, avoiding foods that require a real edge, accepting resistance as normal.
This guide fixes that. Permanently. In one afternoon.
Honing vs. Sharpening: The Distinction That Changes Everything
These are two different processes that most people confuse. Understanding the difference makes everything else in this guide make sense.
Sharpening removes metal. It grinds away a small amount of the blade to create a new edge. After sharpening, the knife is genuinely sharper — new steel has been exposed at the cutting edge. This is done with a whetstone, a belt sander (for production environments), or a quality electric sharpener. Frequency: every 3 to 12 months depending on use.
Honing doesn’t remove metal. It realigns the edge. A knife used repeatedly develops a microscopic deformation at the very tip of the edge — it folds over slightly, bends, loses its alignment. Honing straightens it back. The knife was always sharp underneath. You’re just restoring the alignment. Done with a honing rod (ceramic or smooth steel). Frequency: before every session, or every few uses.
The relationship between them: honing maintains sharpness between sharpenings. A knife that’s honed regularly needs sharpening less often because the edge is maintained rather than allowed to fold and degrade. A knife that’s never honed needs sharpening more frequently because every session chips away at the neglected edge.
Most people who say their knife “doesn’t hold an edge” have a knife that needs honing after every use, not a new knife.
Part One: Honing
The Tool
Ceramic honing rod: The right choice for quality kitchen knives, particularly Japanese steel at 60+ HRC. The ceramic surface is smooth enough to realign without removing significant metal. Available in various grits — a medium grit is right for most applications. Around $25 to $50 for a quality ceramic rod.
Smooth steel honing rod: Traditional European honing steel. Works well on softer Western knife steels (54 to 58 HRC). On harder Japanese steels, a smooth steel can be slightly too abrasive for the edge geometry. Use ceramic for Japanese knives.
Ridged/grooved steel honing rod: The most common type sold at kitchen stores. The ridges are more aggressive and remove slightly more metal with each pass. Fine for softer Western steel knives. Not ideal for hard Japanese blades — too aggressive for the hardness level.
Diamond honing rod: Very aggressive. This removes meaningful amounts of metal and is closer to a light sharpening than true honing. Use with caution on quality knives.
The Angle
For Western-style knives (German steel, most commercial chef’s knives): 20 degrees per side. Visualize the angle: if the blade flat on the rod is 0 degrees and straight up is 90, you want something that looks like a slightly exaggerated lean — roughly the angle of a leaning tower, if you’re looking for a mental image.
For Japanese knives (gyutos, nakiris, bunkas): 15 degrees per side. Thinner, more acute. The finer angle matches the thinner edge geometry of harder Japanese steel.
The practical way to find the angle: Hold the blade at 90 degrees to the rod (straight up), then halve it to 45 degrees, then halve it again. That’s approximately 22 degrees — close enough to start. Adjust from there.
The Technique
Two methods work. Use whichever produces a consistent angle:
Method One — Rod stationary, blade moving (recommended for beginners):
Place the tip of the rod on a folded towel or cutting board. Hold the handle of the rod with one hand, tip pointing down. Hold the knife in the other hand at your target angle. Draw the blade down the rod from heel to tip, maintaining consistent angle and light pressure. Alternate sides — five strokes each side, or one stroke per side for ten alternating passes.
Method Two — Blade stationary, rod moving:
Hold the knife with the edge facing up, away from you. Draw the rod from heel to tip down the blade at the same angle. This method is favored by many professional cooks because the stationary blade makes angle consistency easier to see and feel.
Either method: light pressure. You’re realigning, not removing. Heavy pressure does nothing useful and can damage the edge on hard Japanese steel.
Part Two: Sharpening on a Whetstone
The whetstone is the correct tool for restoring a genuinely dull knife and for maintaining long-term edge quality. It takes practice — the first few sessions feel uncertain, and the results may be inconsistent. By the fifth session, it becomes a simple, satisfying practice. By the tenth, it takes under 10 minutes and produces results better than any electric sharpener or pull-through device.
Choosing a Whetstone
Whetstones are rated by grit — lower numbers are coarser (remove more metal, for damaged or very dull edges), higher numbers are finer (polish the edge, produce final sharpness).
The grits you need:
1000 grit: The workhorse. This is where most sharpening sessions begin and often end. Removes dullness, repairs minor chips, establishes a new edge bevel. If you own one stone, own a 1000.
2000–3000 grit: The refinement pass. After the 1000, a medium stone smooths the scratches from the coarser grit and begins polishing the edge.
5000–8000 grit: The finishing stone. Produces a polished, hair-splitting edge. Optional for kitchen knives used daily (the edge won’t stay at this polish level after the first onion). Worth using for special-purpose knives you want at peak sharpness.
Combination stones (1000/3000, 1000/6000) handle the full process on one stone. The Shapton Glass 1000 is the most recommended entry-level stone by most knife professionals — consistent quality, doesn’t require soaking, cuts efficiently. Around $50. The Naniwa Professional 1000 is a step up at around $75. Both are correct answers.
What to avoid: Cheap combination stones from housewares stores that come with a plastic stand. The grit labeling is inconsistent, the bond is soft (the stone wears unevenly), and the results are unpredictable. Spend $40 to $60 on a quality stone. It’ll last years.
Soaking vs. splash-and-go: Some stones require soaking for 5 to 10 minutes before use. Others (Shapton, King Ice Bear) are splash-and-go — wet the surface and proceed. Check the manufacturer’s recommendation. Using a soak stone dry produces excessive heat and uneven wear.
The Setup
Place the stone on a damp folded towel or a stone holder to prevent it from sliding. The stone should not move when you sharpen — inconsistent angle from a moving stone is the most common reason beginners get poor results.
Keep a glass of water nearby. Wet the stone periodically during sharpening — you want a slurry of water and stone particles, not a dry surface. The slurry aids cutting and protects the stone.
The Angle
Same principles as honing: 15 degrees for Japanese knives, 20 degrees for Western. Consistency matters more than precision — if you can maintain the same angle for the full pass, you’ll build the edge correctly. Changing angles during a pass produces a rounded edge that doesn’t hold sharpness.
Angle guides are available — plastic clips that mount on the spine of the blade to hold the angle for you. $10 to $15. Genuinely useful for beginners who aren’t yet calibrated by feel. Not a crutch — they let you build consistency while you develop your sense of the angle without producing bad habits.
The Technique
Step One: Establish the angle.
Place the heel of the blade on the stone at your target angle. The edge should be facing away from you (toward the far end of the stone). The bevel — the angled face that forms the edge — should rest flat against the stone’s surface.
Step Two: The forward stroke.
Push the blade forward along the stone — heel moving toward tip — while simultaneously moving the blade from heel to tip along the length of the stone. The motion combines a forward push with a lateral sweep, so the entire edge contacts the stone during the pass.
Visualize: you’re trying to slice a thin layer off the top of the stone. The blade advances and sweeps in one motion, contact from heel to tip.
Pressure: moderate on the forward stroke. Lighter on the return. The stone does the cutting. You provide direction and angle.
Step Three: Count and alternate.
10 strokes on one side. Flip the blade. 10 strokes on the other side. Check for a burr — a slight roughness or catch you can feel by running your thumb perpendicular across the edge (not along it). The burr confirms metal is being removed and the edge is forming.
Progress to alternating strokes — one stroke per side — for the final 20 passes. This blends the edge and reduces the burr.
Step Four: The finishing stroke.
Reduce pressure significantly — almost none — and do 5 to 10 very light alternating strokes. You’re removing the last of the burr and aligning the edge.
Step Five: Strop (optional but recommended).
Draw the blade spine-first (edge trailing) across the surface of an old leather belt or a strop block loaded with honing compound. This removes the final microscopic burr and polishes the edge. 10 passes per side, light pressure.
Testing Sharpness
The paper test: Hold a sheet of printer paper by the top edge. Draw the knife through it from heel to tip with light pressure. A sharp knife cuts cleanly with no tearing. A dull knife tears or stops. This tests cutting ability.
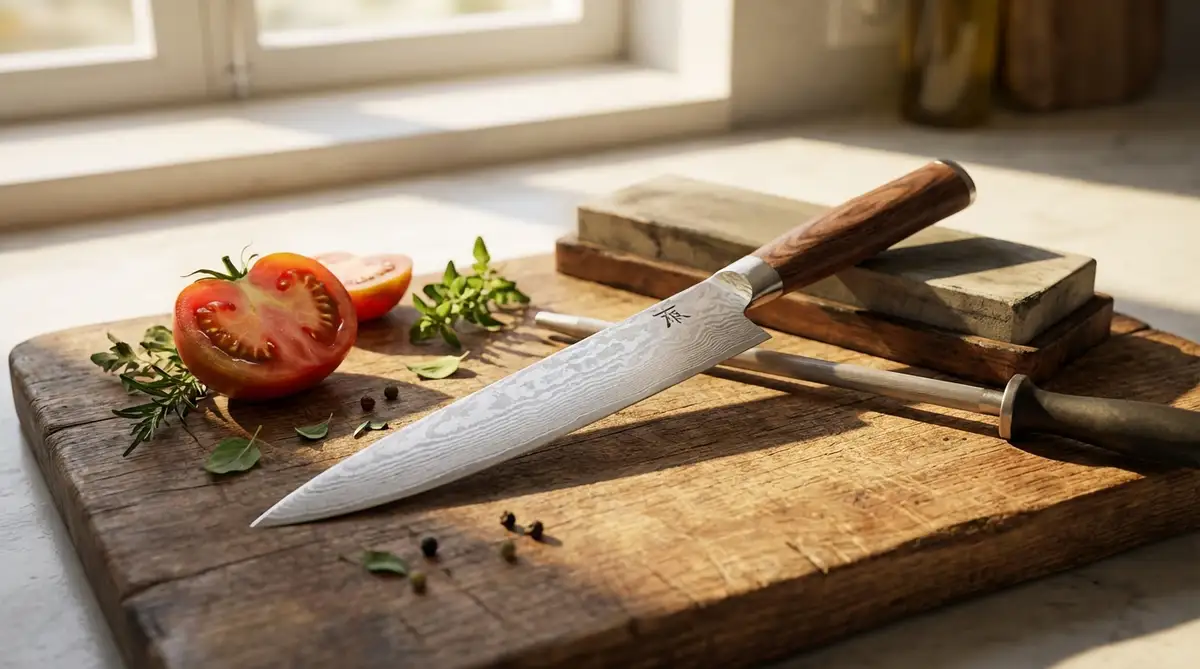
The tomato test: A ripe tomato has thin, resistant skin. A sharp knife parts it with almost no pressure. A dull knife requires force. The tomato test is the real-world confirmation.
The thumbnail test: A sharp edge will catch slightly on your thumbnail when drawn lightly across it perpendicular to the edge. A dull edge slides off without catching. Don’t do this on hard Japanese steel — a Geisha’s edge at 1000 grit is sharp enough to cut, and a slight mistake in this test costs skin.
What Not to Buy
Pull-through sharpeners: The V-notch type that you draw the knife through. These work by removing metal aggressively with carbide or diamond abrasives at a fixed angle. They produce a sharp edge quickly. They also remove more metal per session than a whetstone, they work at angles that often don’t match the knife’s designed geometry, and they degrade quality knives over time faster than they improve them. For a $15 kitchen knife from Target: acceptable. For a Yoshida Hamono Nakiri: no.
Electric sharpeners: Better than pull-through for quality. Still not ideal for hard Japanese steel. The better electric sharpeners (Chef’sChoice, Trizor XV) work well on Western steel in the 56 to 60 HRC range and produce acceptable results on daily-use knives. For any knife at 62+ HRC, or any knife with a specific Japanese edge geometry you’re trying to maintain: use a stone.
Sharpening services: Legitimate for periodic use on knives that have chips or significant edge damage requiring reprofiling. A professional sharpen once a year, followed by your own whetstone maintenance: a reasonable hybrid approach.
The Maintenance Schedule
Here’s the practical cadence:
Before every use or every few uses: 5 to 10 strokes per side on the honing rod. 30 seconds. Keeps the edge aligned between sharpenings.
Every 3 to 6 months (more for daily-use knives, less for occasional-use knives): A full whetstone session. 1000 grit until the edge is restored, 3000 grit to smooth, strop finish. 10 to 15 minutes.
When the knife won’t respond to honing: Full sharpening session. The edge has degraded beyond what alignment can fix.
After any contact with a surface that damaged the edge: Immediate sharpening session. Cutting boards are fine. Ceramic plates, glass, stone counters, the interior of a stainless sink — all of these ruin edges. If it happened, fix it before the next session.
The Short Version
Honing rod before every use. Takes 30 seconds. Whetstone every few months. Takes 15 minutes. Both of these combined cost under $100 and maintain any knife in the Grumpy Dad catalog indefinitely.
A knife that’s never sharpened is a knife that slowly stops working. A knife that’s maintained correctly is one of those tools you stop thinking about because it does what it’s supposed to do every single time.
That’s the whole practice.
Grumpy Dad Co. — Sharp tools for real work.
Browse the full knife collection and pick up Camellia Oil for blade maintenance at grumpydadco.com