How to Break Down a Whole Chicken: Knife Skills That Actually Matter

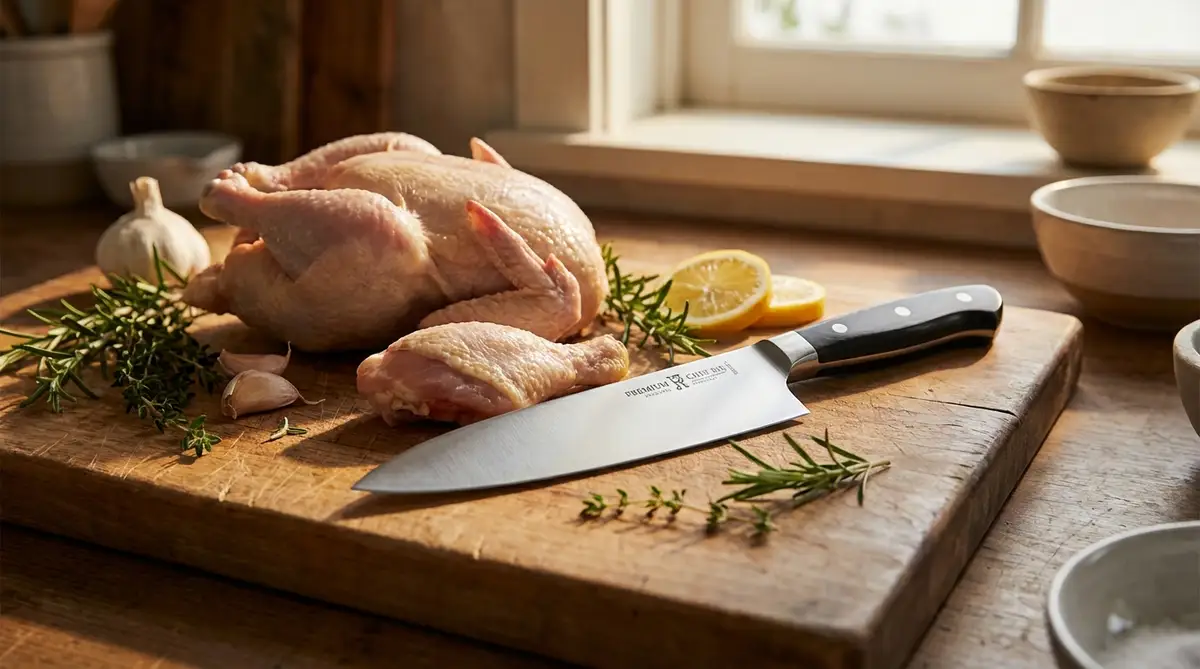
A whole chicken costs less than parts.
That’s the starting point, and it’s not a small thing. A whole 4-pound chicken at $1.50 to $2.50 per pound runs $6 to $10. The equivalent weight in pre-cut thighs and breasts runs $12 to $18 for the same quality. The butcher already did the work, and you’re paying for it.
The work is not hard. Breaking down a whole chicken takes 10 minutes your first time, 6 minutes your fifth, and 4 minutes when it’s a routine part of how you cook. After that it becomes what it actually is — a practical skill that saves money, produces better quality control over your parts, and teaches knife work that applies to every other protein you’ll handle.
This guide covers the full breakdown from whole bird to eight pieces: two breasts, two thighs, two drumsticks, two wings, and a carcass worth simmering for stock. No special equipment. One sharp knife.
Before You Start: The Setup
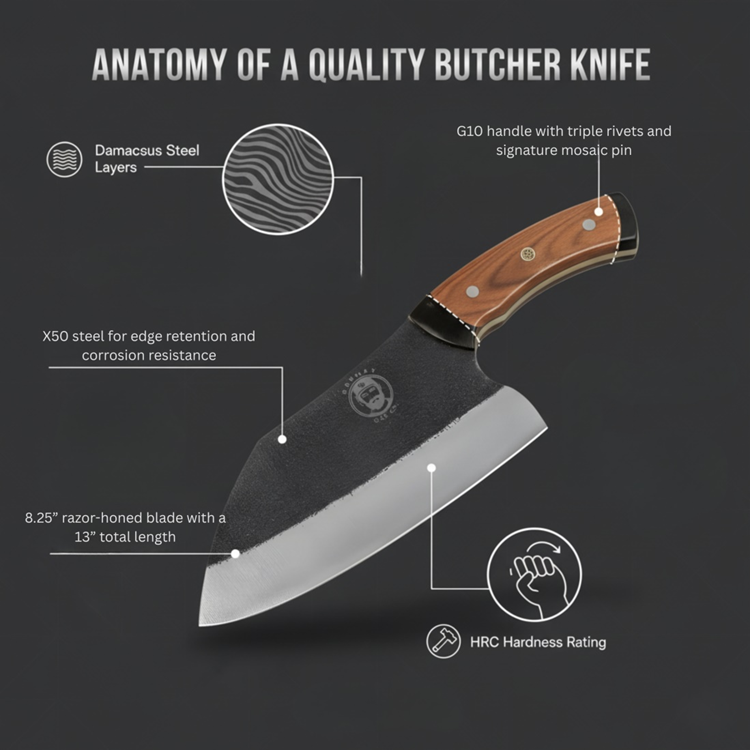
The knife: A sharp 8″ chef’s knife handles the full breakdown. The Grumpy Dad Damascus Chef Knife is the right call here — weight, balance, and an edge that stays sharp through cartilage and joint work without requiring the aggressive force that a dull knife demands. A boning knife is useful if you’re going further (deboning thighs, for example) but not necessary for a standard breakdown.
A sharp knife is not optional. A dull knife forces you to apply pressure and saw, which reduces control and increases the chance of slipping through cartilage in the wrong direction. If the knife isn’t sharp, sharpen it first. Ten minutes on a whetstone before this task produces a measurably safer and faster breakdown.
The board: A large, stable cutting board. The chicken needs room and the board needs to stay put. A damp paper towel under the board prevents sliding. End-grain boards are preferable — gentler on the edge during incidental contact with the board surface.
The bird: Pat dry with paper towels. Moisture on the surface reduces grip and makes the knife’s contact with the skin less controlled. A dry bird is easier to handle in every step.
The setup: Clear the board of everything except the chicken and the knife. Have a bowl nearby for the carcass and trim. Have a plate or tray ready for the finished pieces.
The Breakdown: Step by Step
Step One: Remove the Legs (Thigh + Drumstick Together)
Place the chicken breast-side up. Locate where the thigh meets the body — there’s a natural line of skin connecting them.
With your non-knife hand, pull the leg away from the body, pressing down to expose the joint. Cut through the skin along this natural line. Continue cutting until you feel the resistance of the joint.
Here’s the key technique: find the joint, don’t cut through bone. The hip joint is where the ball of the femur meets the socket of the pelvis. If you’ve located it correctly and angle the knife into it, it opens with almost no resistance. If you’re hitting bone and having to force it, reposition — you’re not in the joint.
A small pop and the leg comes free. Repeat on the other side.
You now have two leg pieces — thigh and drumstick still attached.
Step Two: Separate the Thigh from the Drumstick
Hold the leg piece with the skin side down. Find the natural fat line running across the piece — this marks the knee joint between the thigh and the drumstick. The fat line is your guide.
Place the knife directly on this line and press straight down. The joint is directly below it. If you’re in the right place, the cut goes through with one firm push. If you feel bone resistance, move the knife slightly toward the drumstick end.
Repeat on the other leg. You now have: two thighs, two drumsticks.
Step Three: Remove the Wings
Locate the wing joint where the wing meets the breast. Pull the wing out and away from the body to expose the joint.
Cut through the skin, then find the shoulder joint — same technique as the leg. Press the wing away from the body, angle into the joint, and the wing comes free cleanly.
Wings can be kept whole, or separated at the flat and drumette. For cooking purposes: keep whole for roasting, separate for grilling or frying.
Step Four: Separate the Breast from the Back
This is where kitchen shears are useful if you have them. If not, the chef’s knife works.
Turn the bird so the backbone faces up. You’ll see the ribcage structure on both sides. Cut (or shear) along each side of the backbone — about an inch from the center on each side — from tail to neck. Remove the backbone.
The backbone goes in the stock bowl. It has significant collagen and flavor.
You’re left with the breast plate — two breasts still attached, sternum in the middle.
Step Five: Split the Breast
Lay the breast plate skin-side down. You’ll see the sternum (breastbone) running down the center. Place the knife directly on the center of the sternum and press down firmly with your palm on the spine of the blade.
The sternum is cartilage, not hard bone — a sharp knife with firm pressure splits through it cleanly. One stroke directly down the center.
You now have two bone-in skin-on breast halves.
Optional: For boneless breasts, run the knife along the inside of the breastbone and rib structure on each half, keeping the blade flat against the bone and working the meat free. It takes two minutes per breast and produces boneless portions that cook more evenly than their grocery store equivalents.
What You Have
From one whole chicken in 10 minutes:
- 2 bone-in, skin-on breasts
- 2 thighs
- 2 drumsticks
- 2 wings
- 1 backbone + neck (stock)
Eight usable pieces plus a stock carcass that’s worth more than its weight. Simmered for two hours with onion, celery, carrot, peppercorns, and a bay leaf, the backbone produces a quart of chicken stock that makes every sauce and soup you make this week better.
The Knife Skills That Transfer
Every step in this breakdown teaches something that applies beyond chicken:
Finding joints rather than cutting bone teaches spatial awareness in three dimensions — understanding where the resistance is and navigating to the path of least effort. This applies to lamb, duck, turkey, any poultry or small game.
Controlled cuts through skin teaches blade angle and pressure management. Too much pressure on skin and the knife deflects. Correct pressure with a sharp blade separates cleanly.
Splitting cartilage on the sternum teaches the difference between bone and cartilage under a blade — a distinction that matters in rib work, in spatchcocking, in any task where you’re working close to the skeleton.
Keeping the board clean and organized during a breakdown is knife safety practice. You always know where the blade is. You always know what’s next. You clear pieces as they come off rather than building a pile.
The Practical Reason to Learn This
The honest argument for breaking down your own chicken isn’t craft pride or skill demonstration. It’s this:
You control the quality of every piece. The thighs aren’t pre-marinated in something you didn’t ask for. The breasts aren’t trimmed to the bone because someone else decided that’s what they’re worth. The carcass — which grocery stores either discard or charge separately for — comes to you as part of the whole bird’s price.
A $9 whole chicken broken down correctly produces a week of proteins and a pot of stock. The equivalent in pre-cut, packaged, pre-marinated parts costs $25 to $30 and leaves you without the stock.
That’s the math. The knife skill is how you access it.
After the Breakdown
Store immediately: Refrigerate pieces you’ll cook within two days. Freeze the rest. The carcass goes into a pot or a freezer bag for stock.
Quick stock recipe: Cover the carcass with cold water. Add half an onion (unpeeled is fine), two celery stalks, one carrot, a teaspoon of peppercorns, a bay leaf. Bring to a simmer. Skim foam in the first 15 minutes. Simmer 1.5 to 2 hours. Strain. Refrigerate up to five days, freeze up to three months.
The best use of the thighs: Season with salt and pepper. Cast iron skillet, medium-high heat, skin-side down for 6 to 7 minutes without moving until the skin is deep golden. Flip, finish 5 minutes. Rest 5 minutes. This is what bone-in skin-on thighs are supposed to taste like. The version you make at home from a bird you broke down yourself is better than anything pre-packaged.
Grumpy Dad Co. — The right knife for the right work.
Browse the full knife collection at grumpydadco.com