Grumpy Dad’s Beginner Workshop Setup Guide (Without the Overwhelm)
Listen up, fellow dads. You want a workshop? Good. It’s about damn time you had somewhere to escape when the kids are screaming about whatever TikTok trend is destroying society this week, and your spouse is asking you to “talk about your feelings” for the third time today.
Look, I get it. You’re tired of borrowing tools from that neighbor who acts like his socket wrench set is more precious than his grandmother’s china. You’re sick of trying to fix the kitchen cabinet with a butter knife because that’s the only “tool” you can find in this house full of people who think screws magically tighten themselves.
A well-organized woodworking space requires careful planning, including the selection of the right beginner workshop tools and a safe working environment. In this guide, we’ll walk you through the essentials of creating a functional and safe home workshop setup that’ll make you the envy of every dad in the neighborhood—and more importantly, give you somewhere to hide when the family decides to have a “meeting” about chores.
Key Takeaways
- Plan your home workshop setup layout carefully to ensure a safe working environment (because explaining a workshop accident to your spouse is worse than the actual injury).
- Invest in essential beginner workshop tools for your projects (and stop pretending that rusty hammer from 1987 is “vintage”).
- Create a dedicated space for your DIY workshop (preferably with a lock and soundproofing).
- Consider the lighting and ventilation in your workshop (you need to see what you’re doing, and nobody wants to pass out from sawdust).
- Organize your tools and materials for maximum efficiency (so you can find things faster than your teenager loses their phone).
Planning Your Home Workshop Setup
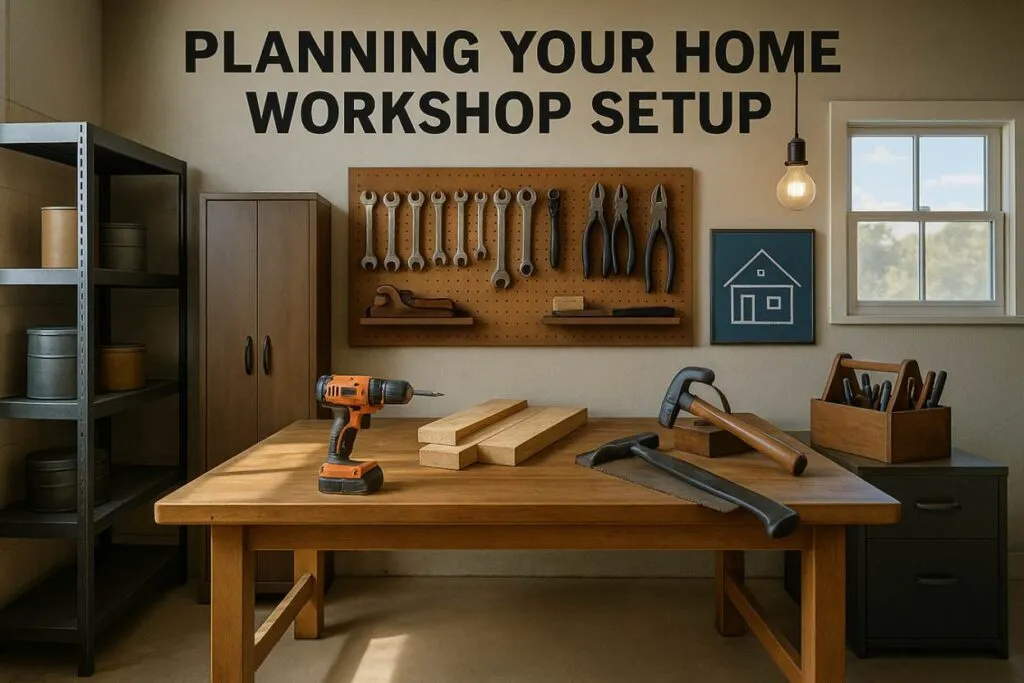
Step one in building your so-called ‘perfect’ home workshop setup: find some space before the family fills it with junk you apparently ‘might need someday. And no, the corner of the garage where you currently stack Christmas decorations and broken exercise equipment doesn’t count as “planned space.” This crucial phase involves measuring the area, considering the layout, and thinking about how you will use the space effectively—because, unlike your teenager’s bedroom, this space needs to function.
A well-planned home workshop setup forms the foundation for all your future woodworking endeavors, and trust me, you’re going to need a solid foundation when you inevitably have to fix everything your family breaks.
Assessing Available Space and Layout
Start by measuring your workshop area and sketching out a basic layout. And I mean measure—not that “eyeballing it” nonsense that got you in trouble when you tried to install those shelves last spring. Consider the size and shape of your workbench, storage needs, and any machinery or equipment you plan to install.
Ensure there’s enough space to move around comfortably and that your most frequently used beginner workshop tools are easily accessible. Because nothing ruins a good project flow like having to crawl under a pile of paint cans to find your drill—again.
Optimizing Lighting and Ventilation
Good lighting and ventilation are crucial for a safe and comfortable working environment. Natural light is ideal, so position your workbench near a window if possible. But let’s be honest—half the time you’ll be working in here is after the family goes to bed, so invest in high-quality LED workshop lighting that won’t make you squint like you’re reading your teenager’s report card.
Ventilation is key—unless you like coughing up sawdust while pretending you don’t cry at Pixar movies. Proper ventilation is also essential, especially when working with materials that produce dust or fumes. Consider installing a ventilation system or using a portable fan. Because the last thing you need is to come stumbling out of your workshop looking like you’ve been through a flour explosion, giving your family even more ammunition for their “Dad’s losing it” theories.
Setting Up Proper Electrical Requirements
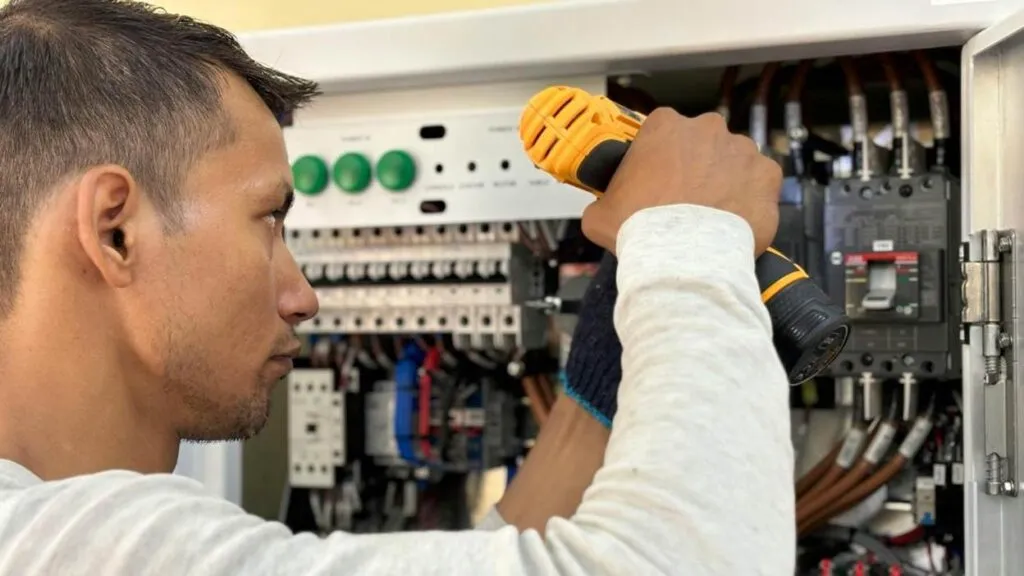
Ensure your home workshop setup is equipped with sufficient electrical outlets and that they are safely installed, preferably GFCI outlets to prevent shocks—so your spouse can’t say ‘You almost died doing this again. And before you start getting all DIY-hero about it, consider hiring a professional to install additional outlets or circuit breakers if necessary.
Yes, I know it costs money. Yes, I know you “know a guy” who can do it cheaper. But a well-planned electrical setup will help prevent overloads and reduce the risk of electrical shock—and explaining to your spouse why half the house lost power during the season finale of their favorite show is not a conversation you want to have.
| Electrical Requirement | Description | Importance Level |
| Sufficient Outlets | Adequate number of outlets to support all tools and equipment. | High |
| Circuit Breakers | Installed to prevent electrical overloads. | High |
| GFCI Protection | Ground Fault Circuit Interrupter protection to prevent electrical shock. | High |
Essential Beginner Workshop Tools: Your Complete Starter Guide
Understanding beginner workshop tools is crucial for any dad starting their woodworking journey. Because let’s face it—you can’t build anything decent with that sad collection of mismatched screwdrivers you’ve been hoarding in the kitchen drawer since the Clinton administration.
The right selection of beginner workshop tools not only makes projects easier but also ensures safety and quality results. This comprehensive guide will help you choose the most important beginner workshop tools that offer the best value and versatility for your home workshop setup—and maybe, just maybe, you’ll stop having to ask your neighbor to borrow his circular saw every other weekend.
Must-Have Hand Tools
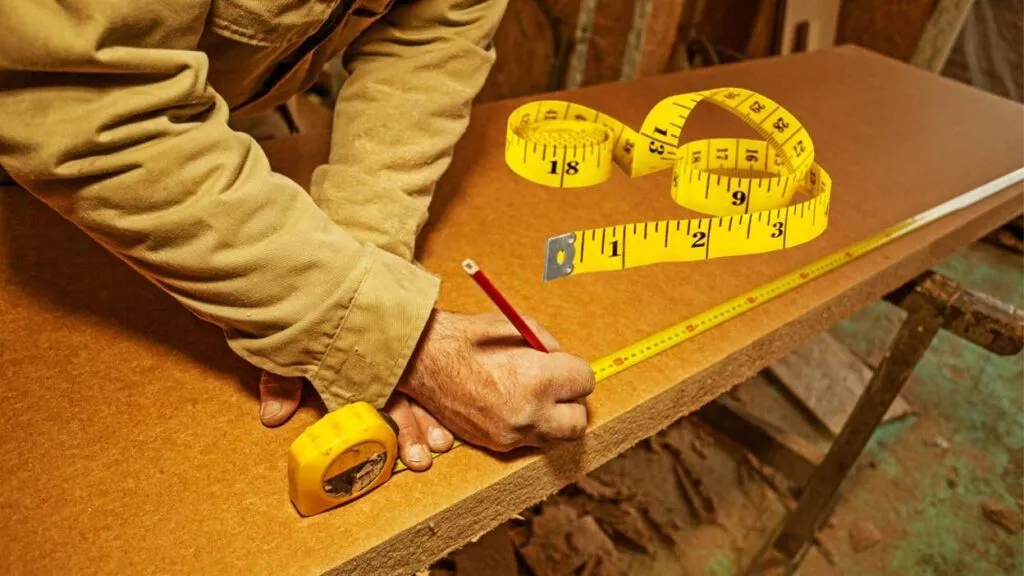
Hand tools are the backbone of any workshop and form the core of your beginner workshop tools collection. For beginners, it’s crucial to start with a basic set that includes a hammer (not the meat tenderizer you’ve been using), tape measure, level, pliers, and screwdrivers.
A claw hammer is versatile for driving nails and pulling them out—kind of like your parenting style, but more effective. A tape measure helps in measuring rooms, materials, and projects accurately, because “close enough” stopped being acceptable after that crooked picture frame incident of 2019.
A level ensures that your work is perfectly horizontal or vertical (revolutionary concept, I know), and pliers are handy for gripping objects—or extracting whatever ridiculous thing your kid somehow managed to get stuck somewhere. A set of screwdrivers, both flathead and Phillips, will cover most screwing tasks in your home workshop setup, and finally retire that butter knife from active tool duty.
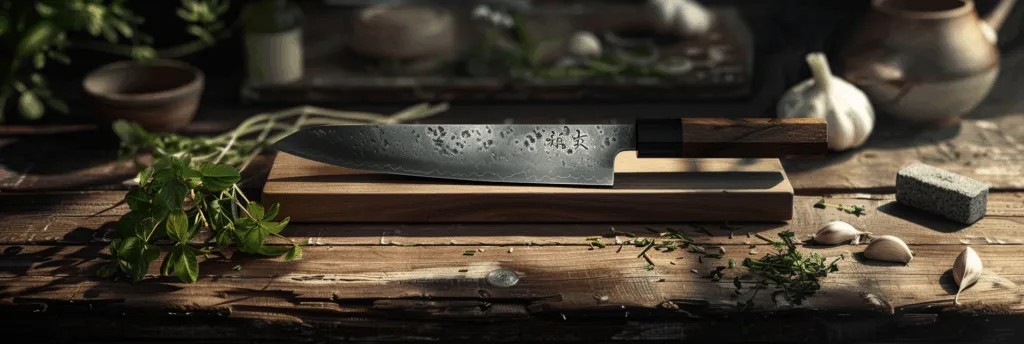
Need to slice lumber and salami with the same intensity? Grab a Grumpy Dad knife.
First Power Tools to Invest In
Power tools make projects faster and more efficient, and are essential beginner workshop tools for any serious DIY enthusiast. For a home workshop setup, consider investing in a cordless drill and a circular saw.
A cordless drill is versatile for drilling holes and driving screws, and when paired with a set of bits, it becomes even more useful than your teenager (which, granted, isn’t saying much). A circular saw is essential for making straight cuts in lumber—emphasis on straight, because wavy cuts aren’t “rustic,” they’re just embarrassing.
Measuring and Layout Tools for Accuracy
Accuracy is key in woodworking and DIY projects, making precise measuring tools essential beginner workshop tools. Because if there’s one thing I’ve learned in my years of fixing things around the house, it’s that “measure twice, cut once” beats “cut seventeen times, swear constantly, blame the wood” every single time.
Essential measuring and layout tools include a combination square, a marking gauge, and a stud finder. A combination square helps ensure your angles are square (shocking, I know), a marking gauge is useful for making consistent measurements on wood, and a stud finder is indispensable for locating studs behind walls for hanging or mounting projects—unlike the other stud finder in this house, it works.
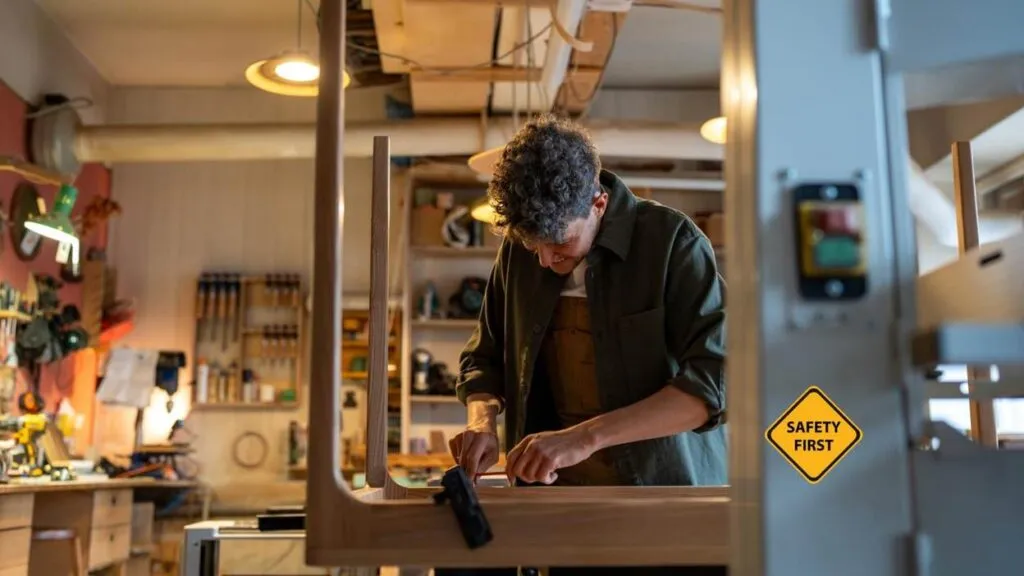
Creating a Safe Workshop Environment
Ensuring your home workshop setup is a haven is crucial for enjoyable and accident-free DIY experiences. Because the last thing you need is to give your family more reasons to treat you like you can’t be trusted with sharp objects.
A safe workshop environment not only protects you but also your family members who might be around when you’re working on projects—though let’s be honest, they usually scatter like roaches when you fire up the table saw.
Personal Protective Equipment Essentials

Personal protective equipment (PPE) is your first line of defense against workshop hazards and should be part of your essential beginner workshop tools. Essential PPE includes safety glasses, hearing protection, and work gloves.
Safety glasses prevent eye injuries and awkward conversations with your spouse. Hearing protection saves your ears and sometimes your sanity. Work gloves protect your hands because bandaged fingers can’t operate the TV remote, and that’s unacceptable. Keep a Grumpy Dad Mug on the bench. Caffeine is the real PPE.
Fire Safety and Prevention
Fire safety is a critical aspect of any home workshop setup. Keep a fire extinguisher rated for the types of fires you might encounter in your workshop—and no, the garden hose doesn’t count. Regularly inspect your electrical equipment and cords for damage, and store flammable materials properly.
“Prevention is the best defense against workshop fires,”—and having to explain to your insurance company why your “small project” burned down the garage.
Child-Proofing Your Workshop Space
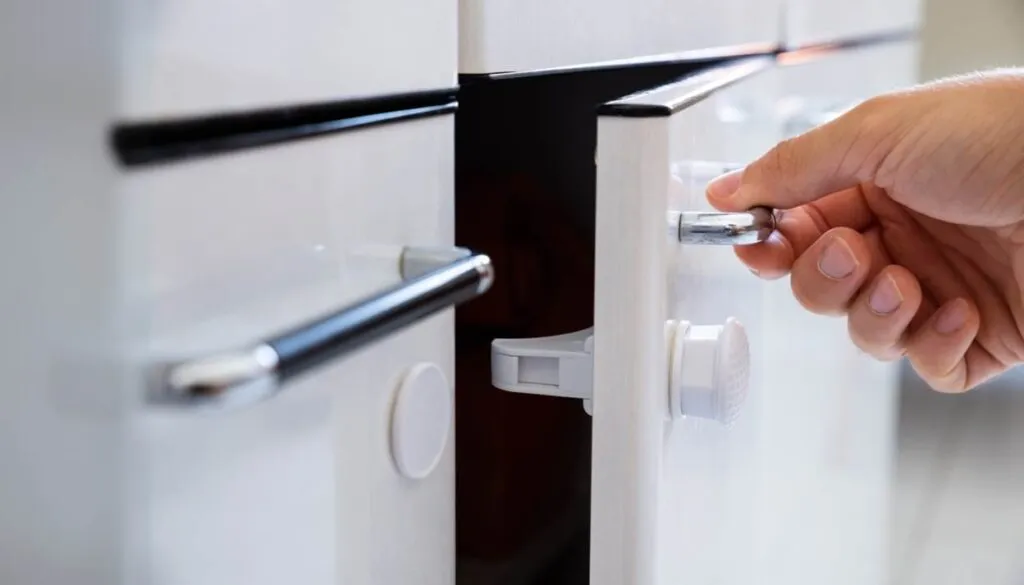
If you have kids, child-proofing your home workshop setup is essential—and I’m not just talking about keeping them safe, I’m talking about keeping your tools from mysteriously disappearing and showing up in their fort-building projects.
Store hazardous materials and beginner workshop tools out of reach, and consider installing safety gates to restrict access when you’re not working. Nothing ruins an organized tool wall like discovering your 8-year-old “borrowed” your best chisel for earthworm excavation. Secure hazardous materials and anything you don’t want turned into toys, install safety gates for both safety and sanity, and always supervise kids in the workshop—while keeping your good tools hidden.
Workshop Organization and Storage Solutions
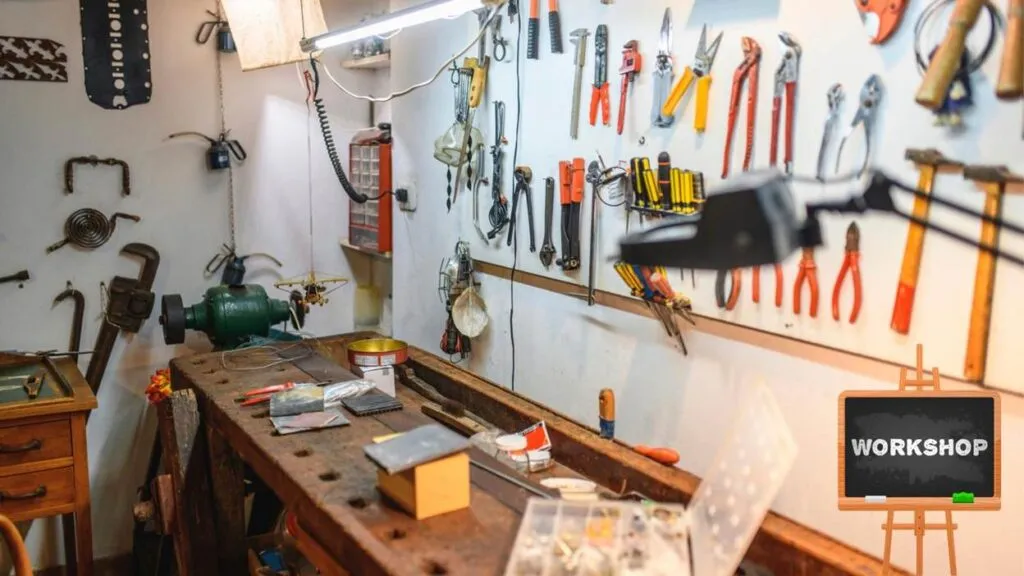
A clutter-free and organized home workshop setup is the foundation of successful project completion. When your beginner workshop tools and materials are well-organized, you can work more efficiently and safely—and you won’t spend half your workshop time playing hide-and-seek with your tape measure.
In this section, we’ll explore practical tips on how to optimize your workshop’s organization and storage, because “I know it’s here somewhere” is not an organizational system.
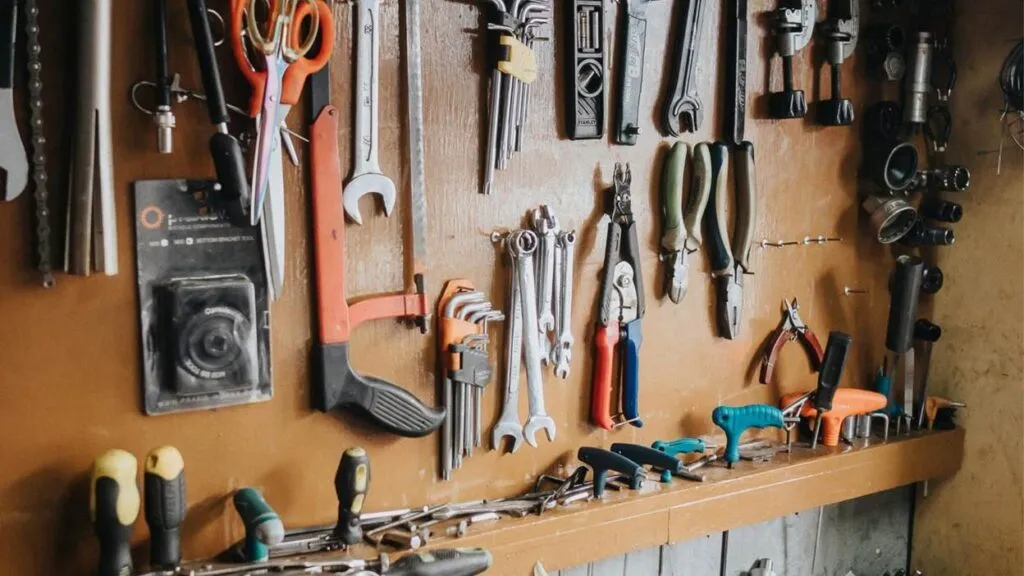
Tool Storage Systems and Options
Effective tool storage is crucial for maintaining a clutter-free home workshop setup. Consider investing in a tool chest or a pegboard to keep your beginner workshop tools organized and within reach—and more importantly, to keep them away from family members who think screwdrivers make excellent paint stirrers.
Some popular tool storage options include:
Toolboxes with dividers for categorizing small tools (because everything has a place, and that place is not “wherever you dropped it last”).
Pegboards with hooks for hanging larger tools (the adult version of refrigerator art).
Tool cabinets for storing sensitive equipment (aka the good stuff that nobody else is allowed to touch).
Material Storage and Organization
Proper material storage is just as important as organizing your beginner workshop tools. Keep your materials dry, organized, and easily accessible in your home workshop setup—unlike the current system, where everything important is buried under a pile of stuff you’ll “get to eventually.”
Consider using:
Shelving units for lumber and large materials
Storage bins for small parts and supplies (and to keep them away from the family vacuum of lost objects)
Label makers to identify stored materials (because your memory isn’t as good as you pretend it is)
Creating Efficient Workflow Zones
Organizing your home workshop setup into different workflow zones can significantly enhance your productivity and reduce the number of times you have to walk back and forth like you’re training for a marathon. Think of your workshop like a well-oiled machine—or at least one that doesn’t break down like your teenager’s work ethic. Set up a cutting zone far from anything you don’t want covered in sawdust, an assembly area with enough room to actually work, and a finishing zone with proper ventilation so you don’t get high off polyurethane fumes and accidentally volunteer to host Thanksgiving. With organized zones, you’ll work efficiently and stop losing tools to the Bermuda Triangle that exists in every family home.
Building Your First Workbench
A workbench is the foundation of any home workshop setup, providing a dedicated space for projects and tool organization. It’s where you’ll spend most of your time working on various DIY projects, from simple repairs to complex woodworking tasks using your beginner workshop tools—and it’s probably the only flat surface in your house that won’t be immediately covered with mail, homework, and random junk.
Simple DIY Workbench Designs
When it comes to designing your workbench for your home workshop setup, simplicity and functionality are key—much like your approach to parenting after the third kid. Consider a basic rectangular design with ample space for your projects and beginner workshop tools. You can also incorporate features like a built-in vise and storage drawers, because if you’re going to build something, you might as well make it useful.
Materials Selection and Measurements
For a sturdy workbench in your home workshop setup, you’ll need solid materials—not the particleboard nonsense they try to pass off as “furniture grade” these days. Consider using 2×4 lumber for the frame and 3/4 inch plywood for the top.
Accurate measurements are crucial, so ensure you measure twice before cutting any wood. I cannot stress this enough—measure twice, cut once. Not measure once, cut, swear, measure again, cut again, give up and go buy a beer.
| Material | Quantity | Purpose |
| 2×4 Lumber | 8 pieces | Frame |
| 3/4 inch Plywood | 1 sheet | Workbench Top |
Step-by-Step Assembly Process
Start by assembling the frame using your 2×4 lumber and your beginner workshop tools. Use screws, not nails, this isn’t Pinterest, and you’re not building a birdhouse for the royal family. Nails are for hanging pictures, screws are for things that need to stay together longer than your teenager’s attention span.
Once the frame is ready, attach the plywood top. Ensure its securely fastened and smooth, because nothing ruins a project like working on a surface that’s more warped than your sense of humor after 20 years of dad jokes.
As Woodworking Magazine suggests, “A good workbench is sturdy, versatile, and tailored to your specific needs”—unlike most things in your life, which seem designed for everyone except you.
By following these steps, you’ll have a functional workbench that will serve as the heart of your home workshop setup and give you something to be proud of building.
Beginner Projects to Test Your Workshop
As you stand in your newly organized home workshop setup, you’re ready to embark on a journey of creating something with your own hands using your beginner workshop tools—something more impressive than the crooked shelves that currently haunt your living room.
Starting with beginner-friendly projects is key to building your confidence and skills, and more importantly, to proving to your family that you know what you’re doing in there.
Simple Weekend Projects for Practice
Begin with simple projects that can be completed over a weekend using your beginner workshop tools, such as building a birdhouse, a small cutting board, or a simple shelving unit. These projects are perfect for practicing your new skills and familiarizing yourself with your tools—and they’re small enough that if you mess them up, you can throw them away without anyone asking too many questions.
For instance, a DIY birdhouse can be a fun way to start, requiring minimal materials and offering a sense of accomplishment. Plus, if the birds don’t like it, they can’t leave negative reviews online.
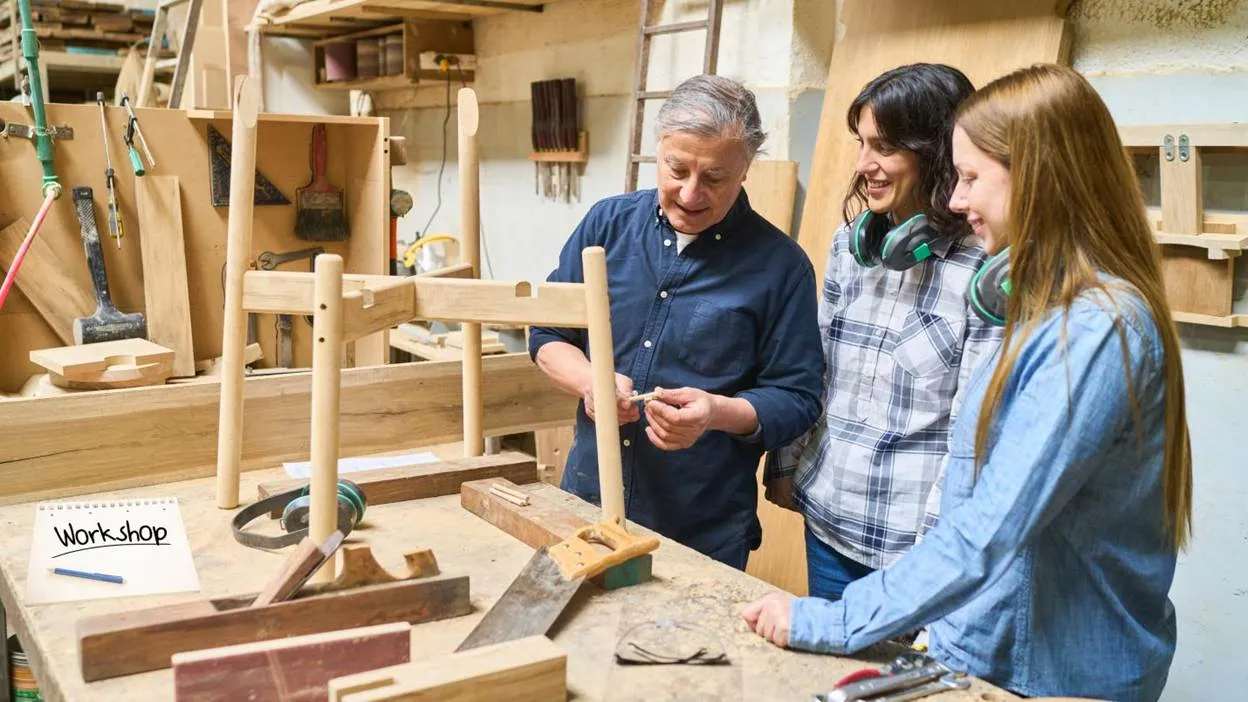
Family-Friendly Workshop Activities

Involving your family in woodworking can be a great way to spend quality time together in your home workshop setup—assuming they can follow directions better than they follow your requests to clean their rooms. Consider projects like a family picture frame or a simple wooden toy, using basic beginner workshop tools.
These activities not only teach children about woodworking but also create lasting memories—hopefully better memories than that time you tried to assemble the swing set and ended up with extra parts and a structure that looked like modern art. Make sure to emphasize safety and use kid-friendly tools, because explaining workshop injuries to your spouse is worse than explaining why you bought another tool “you needed.”
Building Skills Through Progressive Projects
As you gain more experience with your beginner workshop tools, take on more challenging projects that help you build new skills—and give you legitimate reasons to buy more tools. Start with projects that require more complex joinery or involve working with different types of wood.
This progressive approach will help you become more proficient and confident in your woodworking abilities. For example, moving from a simple cutting board to a more intricate wooden cabinet can be a significant step forward—assuming you don’t get distracted by whatever family crisis emerges while you’re trying to concentrate.
By starting with simple projects and gradually moving to more complex ones, you’ll enjoy the process of learning and creating something valuable for your home—and maybe earn enough credibility to attempt that honey-do list without eye rolls.
Conclusion: Your Workshop Journey Begins
So you want to try woodworking? Great. Another dad hobby that’ll cost you a fortune and give you splinters. Embarking on a woodworking journey can be a rewarding experience for dads and their families—if by “rewarding” you mean having a legitimate excuse to spend money on tools and hide in the garage when the kids start asking for help with homework.
By setting up a beginner-friendly home workshop setup with the right beginner workshop tools and safety precautions, you’re laying the foundation for a lifelong hobby that will provide years of satisfaction, creativity, and blessed silence away from family drama.
With a well-planned home workshop setup, you’ll be able to tackle a variety of projects, from simple weekend builds to more complex woodworking endeavors. As you progress on your woodworking journey, you’ll develop new skills and create meaningful projects that can be enjoyed for years to come—and finally have something to show for all those hours you spent “organizing” out there.
Remember, the key to a successful workshop is a solid understanding of beginner workshop tools and a commitment to safety. By following the guidelines outlined in this guide, you’ll be well on your way to creating a home workshop setup that’s both functional and enjoyable—and gives you the perfect excuse to avoid household chores you’ve been putting off.
So, get started on your woodworking journey today, and watch your creativity and skills grow with each new project. And who knows? Maybe you’ll even impress your family enough that they’ll stop asking if you “actually know what you’re doing” every time you pick up a power tool.
FAQ
What are the essential beginner workshop tools?
The essential beginner workshop tools include must-have hand tools like hammers (real ones, not meat tenderizers), tape measures, and levels, as well as first power tools to invest in, such as a circular saw or a drill press for your home workshop setup. Stop borrowing from your neighbors—it’s embarrassing.
How do I optimize lighting and ventilation in my home workshop setup?
Optimizing lighting and ventilation in your home workshop setup can be achieved by installing LED lighting, using task lamps, and ensuring good airflow through the use of fans or ventilation systems. Because working in the dark leads to mistakes, and mistakes lead to explaining things to your spouse.
What safety precautions should I take in my workshop?
To ensure a safe home workshop setup, it’s essential to wear personal protective equipment, such as safety glasses and ear protection, and to follow fire safety and prevention guidelines when using your beginner workshop tools. Your life insurance isn’t that good, so don’t take unnecessary risks.
How can I child-proof my workshop?
Child-proofing your home workshop setup involves securing hazardous materials, installing safety gates, and ensuring that beginner workshop tools and power tools are out of reach of children. And hide the good stuff—kids have a talent for losing or breaking anything valuable.
What are some simple DIY workbench designs?
Simple DIY workbench designs can be found online, and typically involve using materials like 2x4s and plywood to create a sturdy and functional work surface for your home workshop setup. Build it right the first time so you don’t have to explain the wobbly mess to visitors.
How do I organize my workshop for maximum efficiency?
Organizing your home workshop setup involves implementing tool storage systems for your beginner workshop tools, material storage and organization, and creating efficient workflow zones to minimize clutter and maximize productivity—because “I know it’s here somewhere” is not an organizational system.
What are some beginner-friendly woodworking projects?
Using your beginner workshop tools, you can tackle simple weekend projects, such as building a birdhouse or a picture frame, and family-friendly workshop activities, like creating a wooden cutting board in your home workshop setup. Start small so your failures are small too.
How do I choose the right materials for my woodworking projects?
Choosing the right materials for your woodworking projects involves considering factors like durability, cost, and aesthetic appeal, and selecting materials that are suitable for your project’s specific needs and compatible with your beginner workshop tools. Don’t cheap out on materials—you’ll just end up redoing it later.
Ready to Gear Up with Grit and Grins?
You’ve claimed your corner of the garage, shoved the Christmas boxes out of the way, and even untangled that mess of extension cords. Nice work… but now the real fun begins.
Setting up your first workshop isn’t just about tools—it’s about creating a place where you can build, tinker, and maybe escape the chaos of family life for a bit. Sure, you’ll lose a screwdriver or two, and yes, that first shelf might lean a little, but that’s part of the story.
Here’s my advice: keep a Grumpy Dad mug on the bench. Coffee always tastes better surrounded by sawdust.
Start simple—build a birdhouse, a cutting board, or a workbench that won’t collapse when your buddy leans on it. Then, piece by piece, you’ll turn that space into your own little fortress of DIY glory.
Grumpy Dad Co has your back:
Knives that make the cut every time
Mugs for morning grind and midnight fixes
Tees that speak fluent dad sarcasm
Essentials for projects that actually get finished
Join the crew of dads turning “someday” into “done”:
Facebook.com/grumpydadco
Instagram.com/grumpydadco
Shop sharp. Shop smart. Shop Grumpy Dad Co.